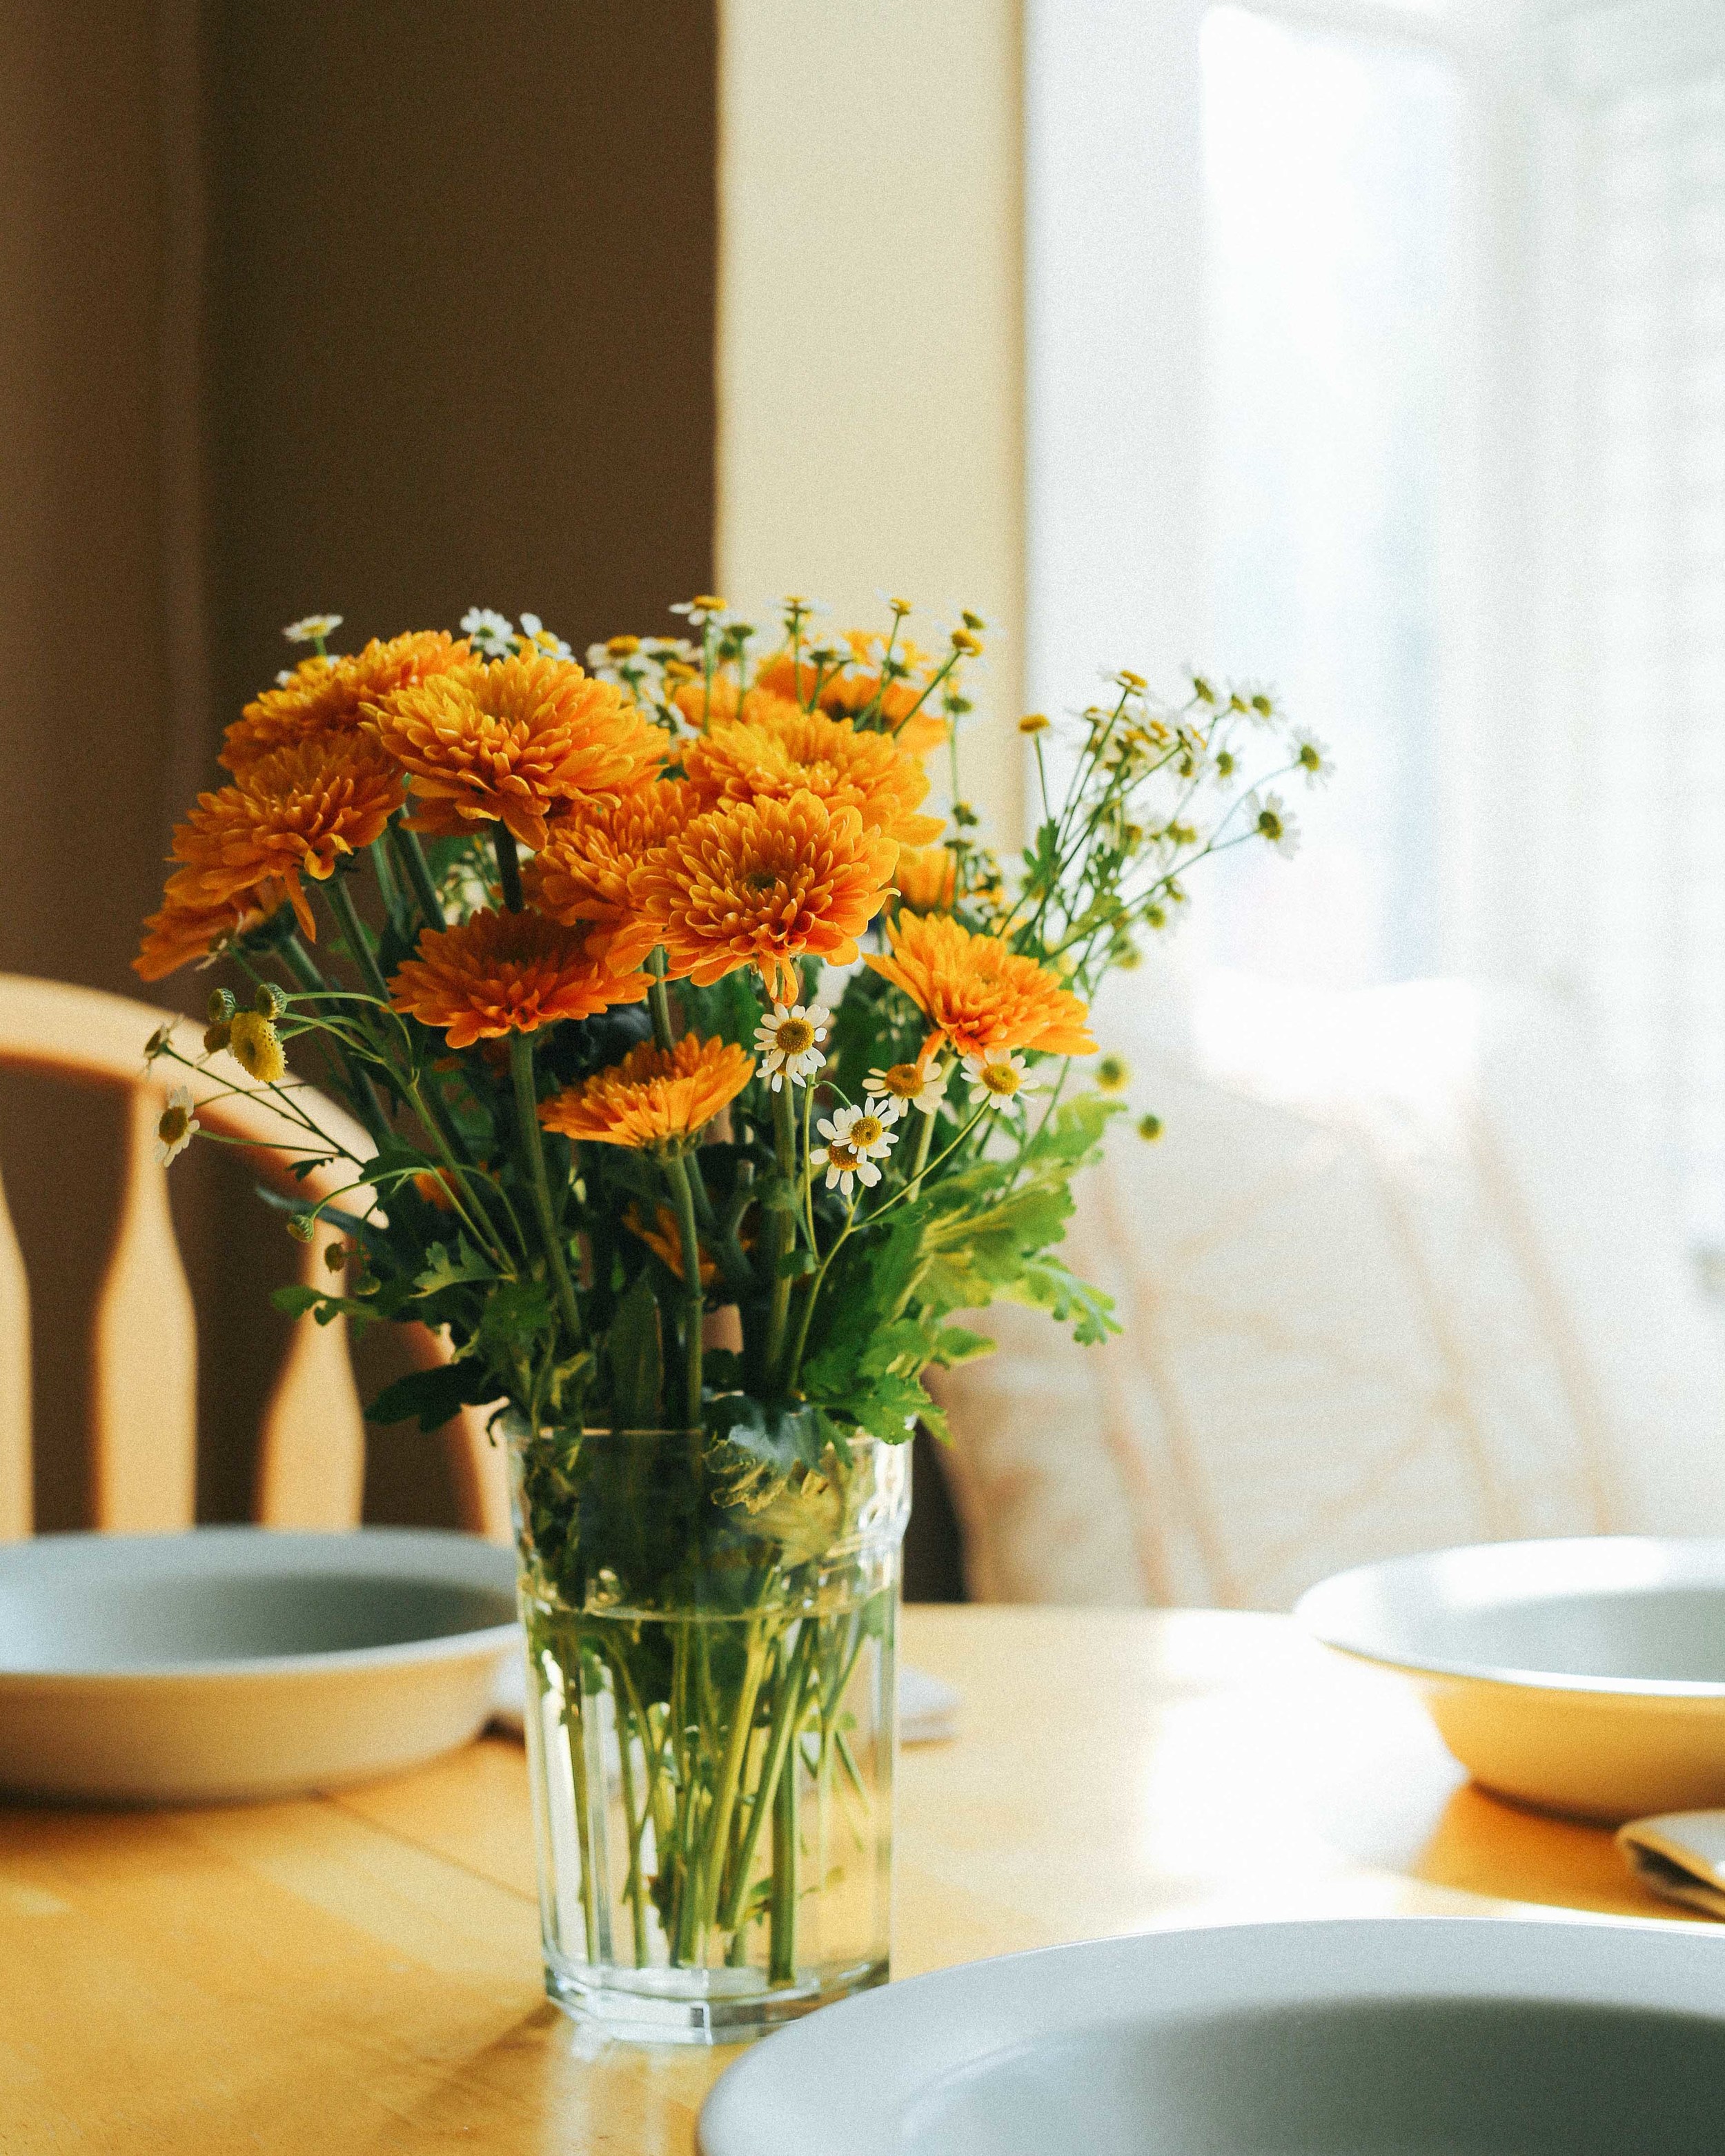
Oh, hey! It's our old dining room!
I've been saving this recipe for a while because I wanted to tinker with a couple of things and see if it made the chicken even better, but nope! It was perfect to begin with. Go figure.
This is Frances Wilson's recipe, or at least, what my brain remembers of it from cooking school eight years ago. It is very French. There is tarragon and garlic and cream and alcohol and I usually listen to Yann Tiersen when I make it, which I'd like to think adds a little something extra (probably angst, if it is his most recent album). And even more than it is French, it is very simple, even with the addition of a pan sauce. The sauce echoes some of the ingredients from roasting the chicken, so there are fewer additional items you need to make it all come together. Quite practical, non?
If you have never made a pan sauce before, hooray! You are going to love it. Get all your goodies together beforehand, get your pan nice and toasty, and then sauce away. There is almost never enough pan sauce for me, and you could probably stretch it a little bit by adding some good quality (preferably homemade) chicken stock and letting it reduce down to a glaze. But if you don't have good chicken stock, just use the other ingredients and make sure everyone appreciates every drop of sauce they get.
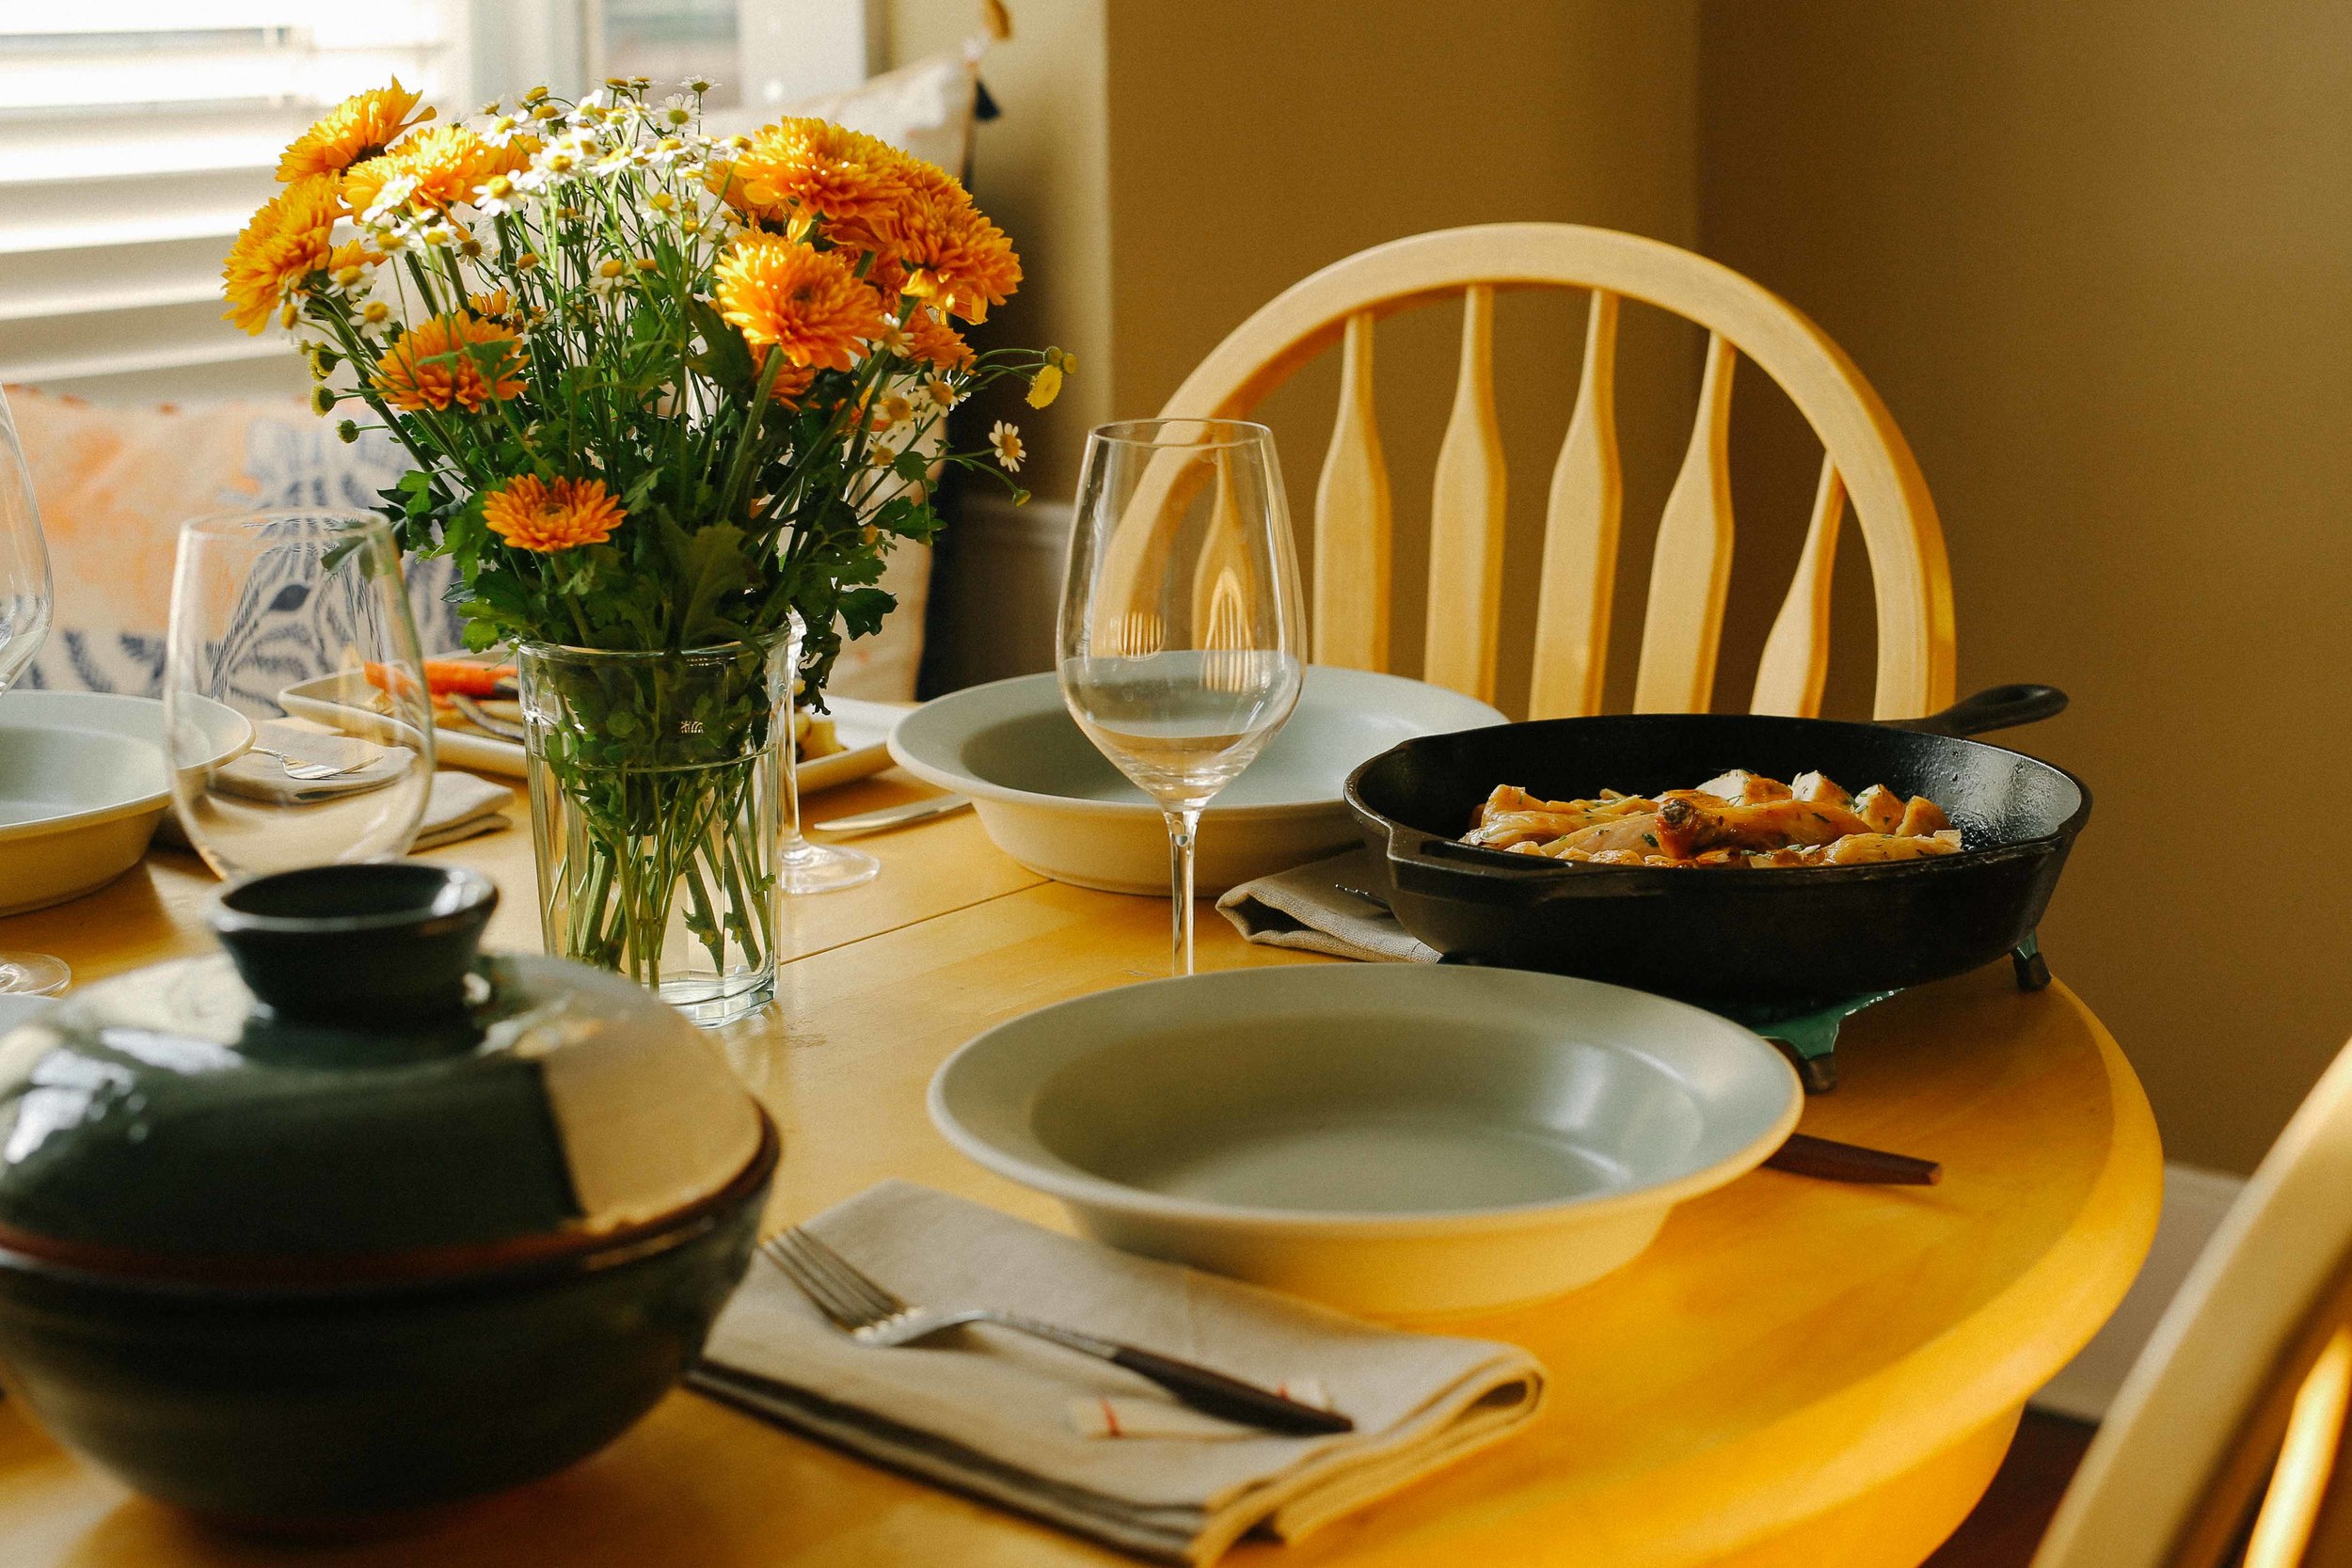
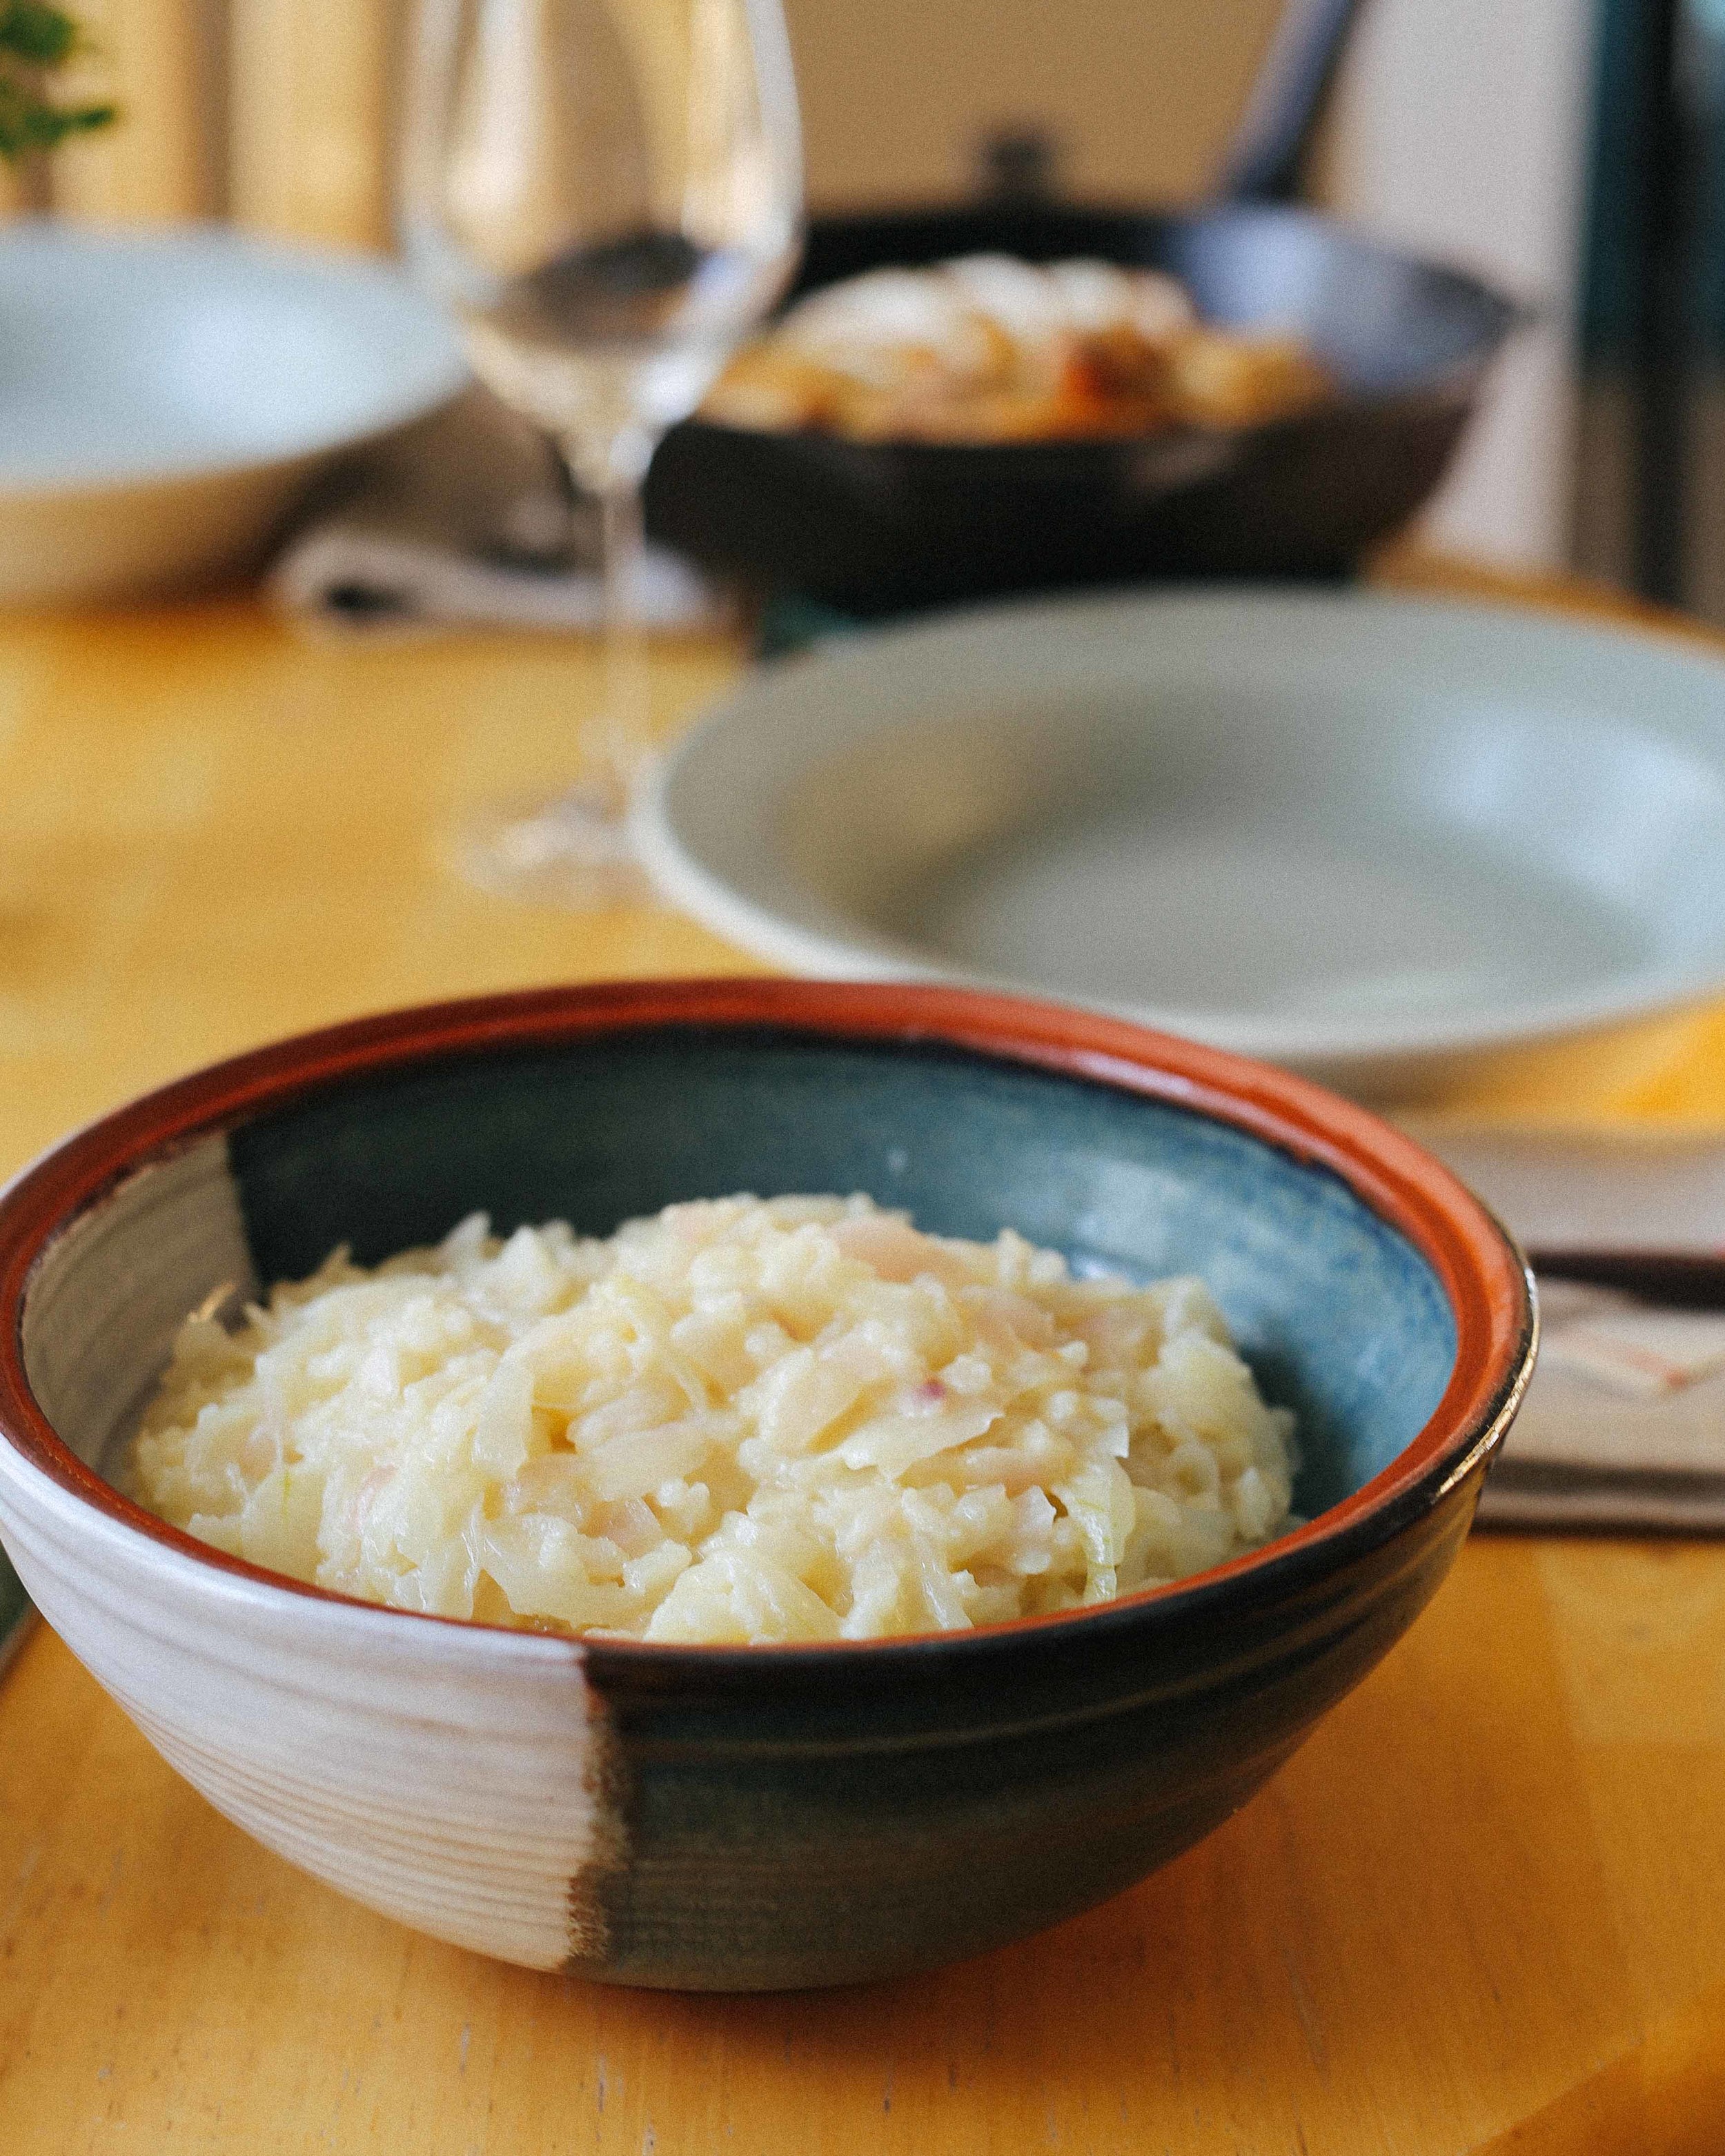
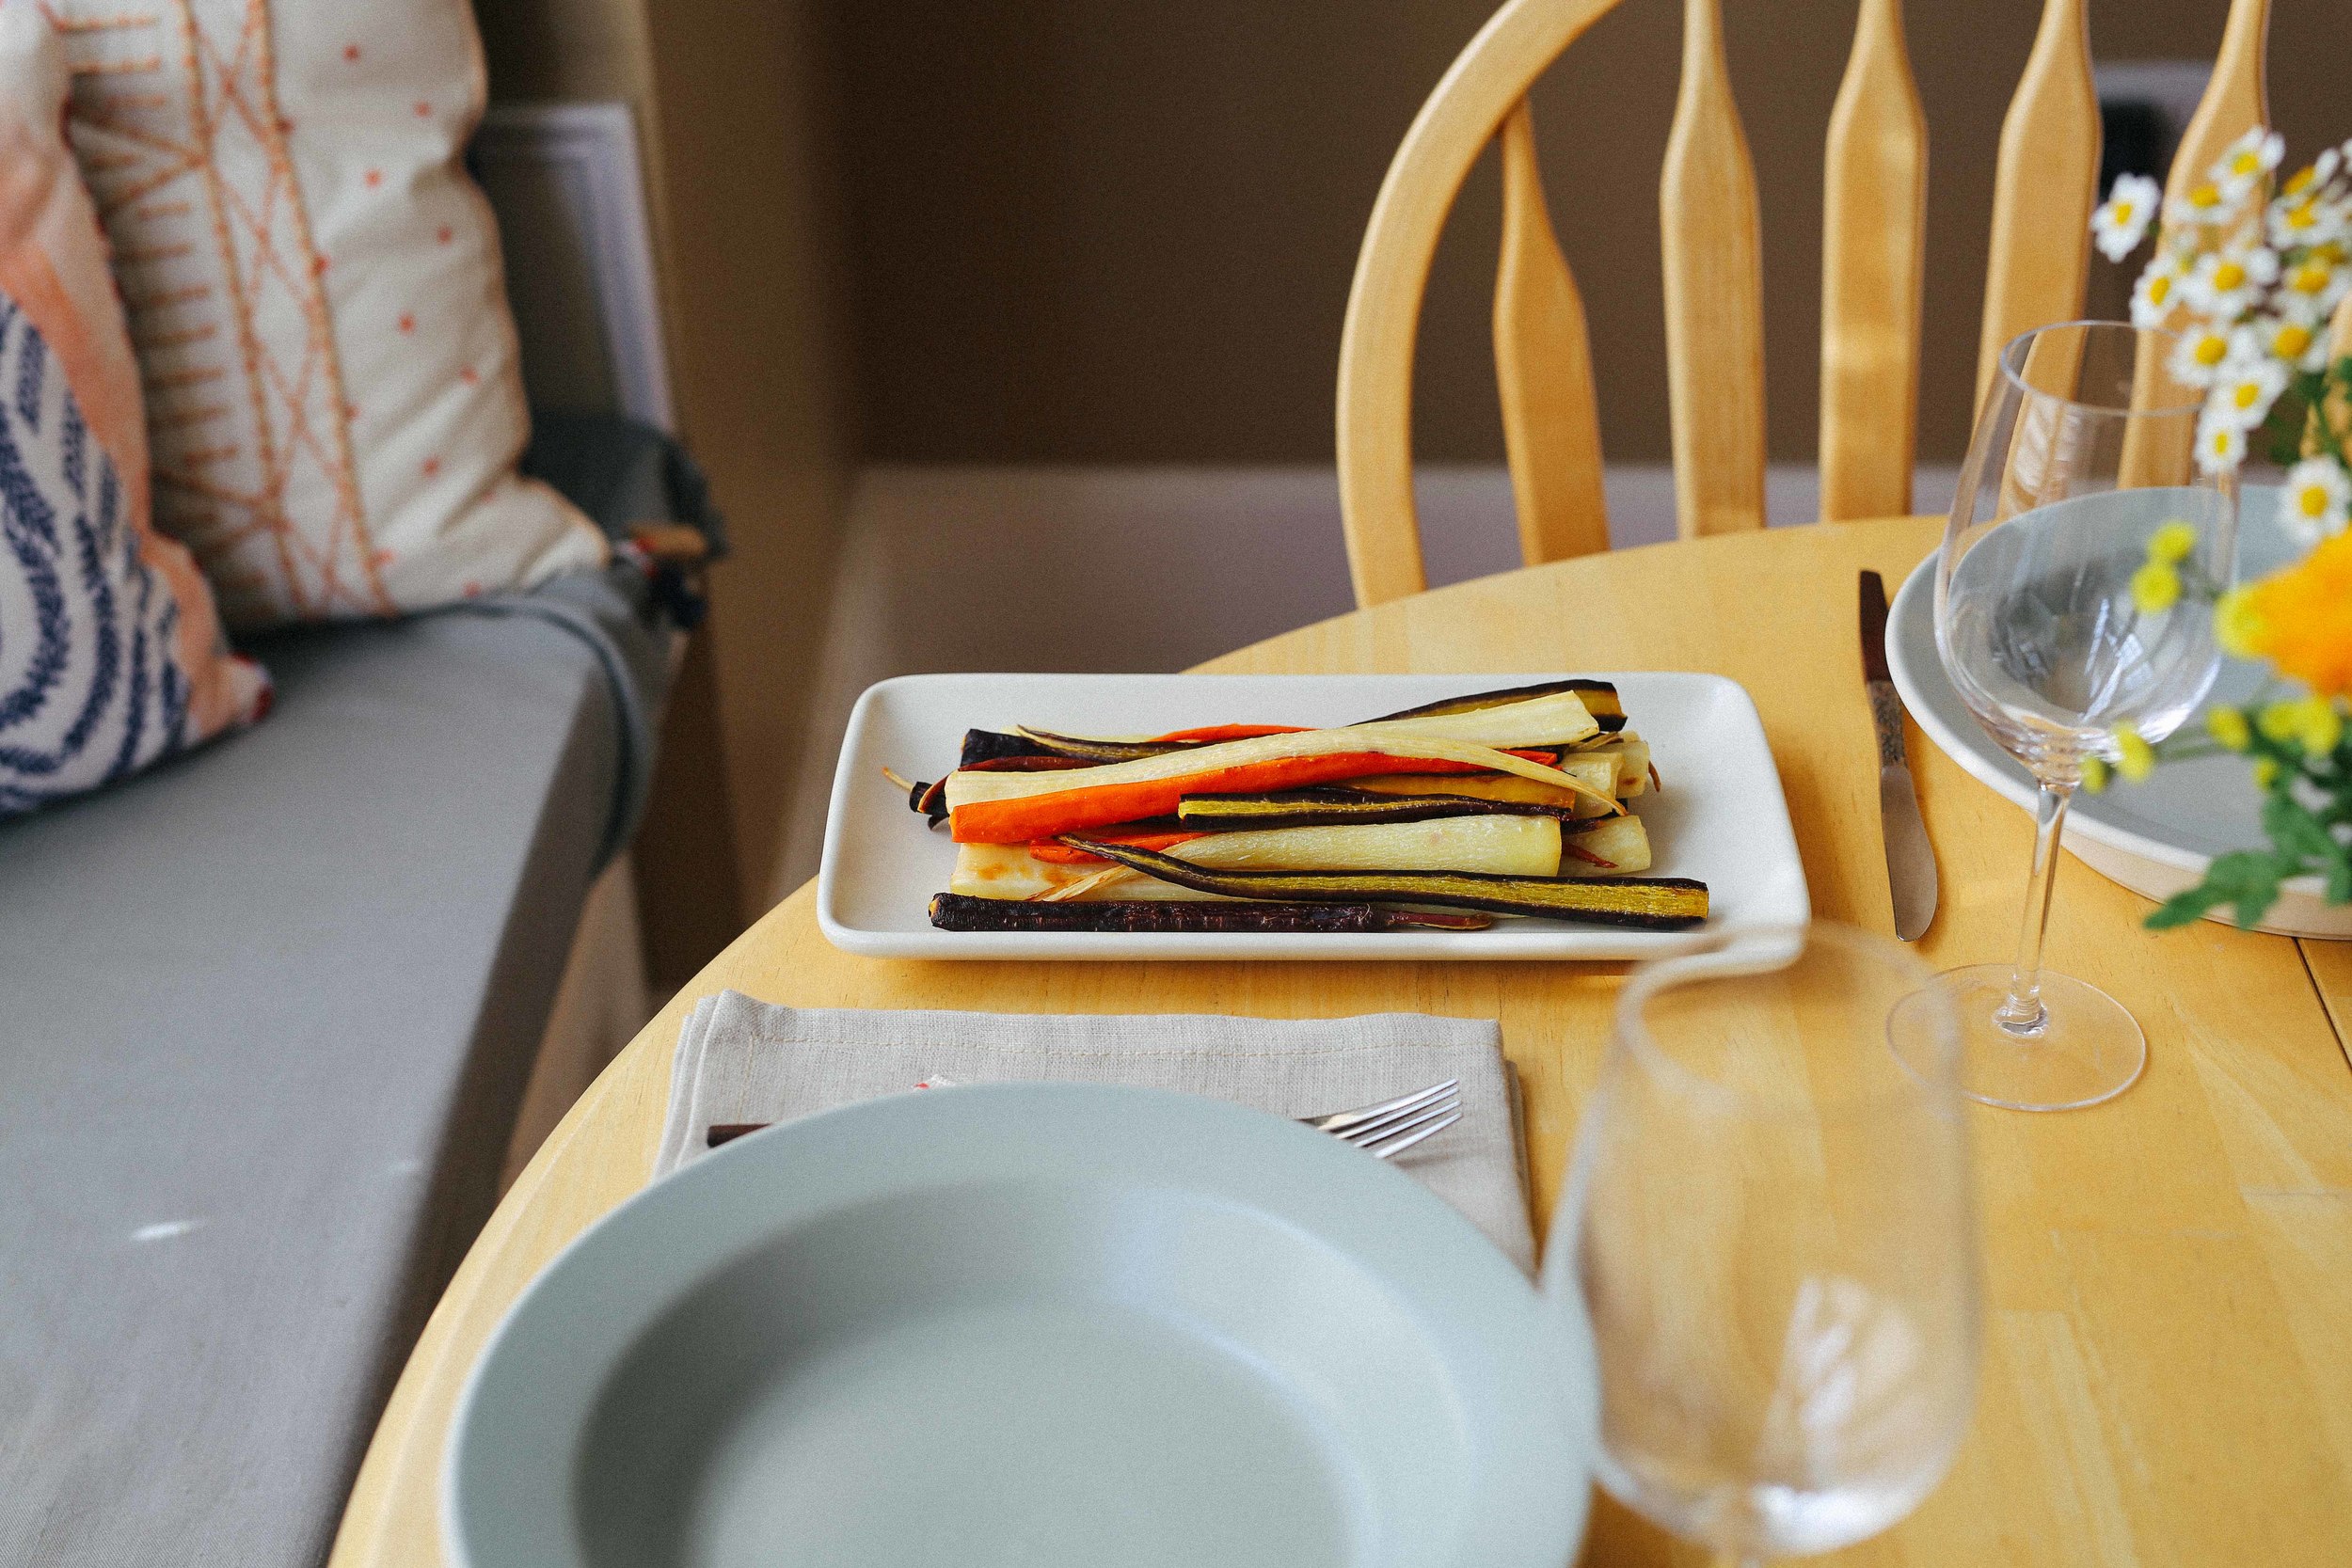
I served this recipe with Suzanne Goin's soubise (which is like risotto with an inverted ratio of onions to rice) and some of those [roasted] Dr. Seuss carrots which Whole Foods has been carrying recently. You can serve it with whatever starch/veg you like (roasted potatoes would be awesome), though I'd keep the seasoning strictly to salt and possibly pepper, just so nothing takes away from your pan sauce.


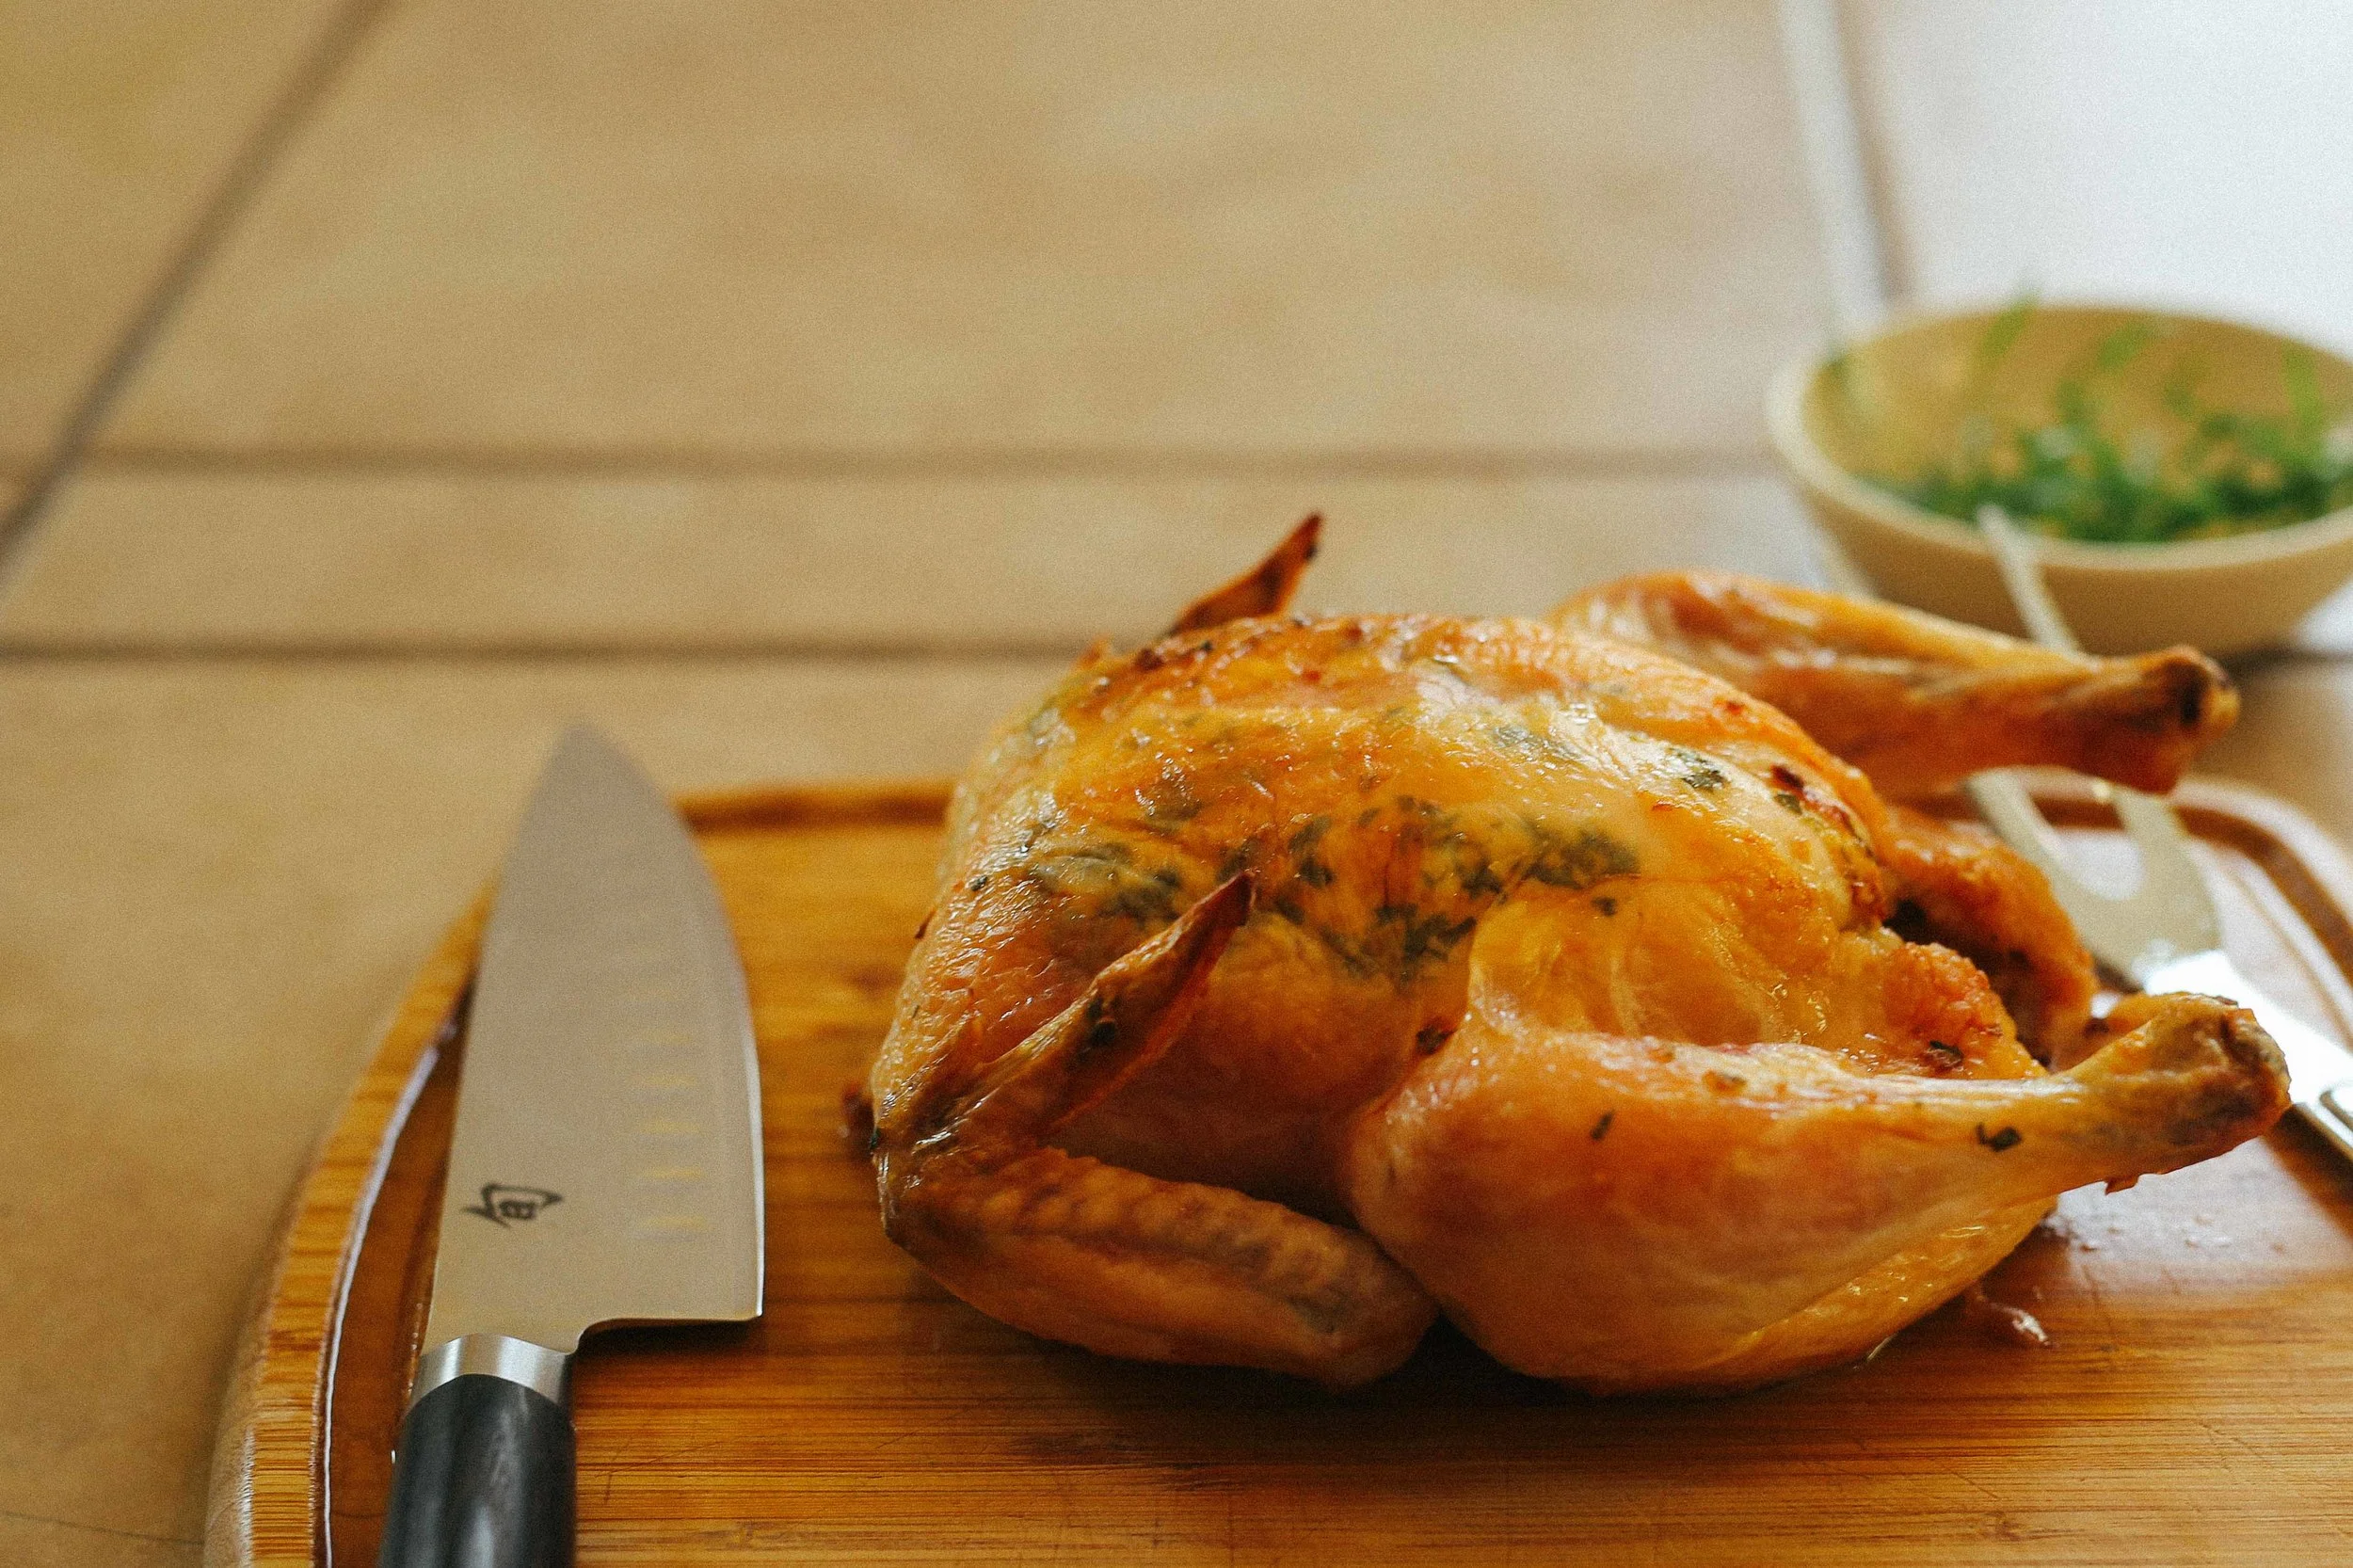
I don't truss my chicken because 1) I am lazy, and 2) it cooks more quickly when it isn't trussed or stuffed (because the heat gets inside, yo). Also, 3) because part of the way I check a chicken for doneness is by sticking a fork in the cavity and tipping it up a little in the pan to see if the juices that start to run out are clear (if they are reddish pink, your chicken is not done). You can also use a thermometer to check for doneness by taking a reading in the meaty part of a thigh (avoid touching the bone for an accurate reading). Take your chicken out at 165˚F; the temp will continue to rise about 5˚F further out of the oven.
Also because 4) then the skin around the cavity and on the legs gets nice and crispy, mmm.
The flipping bit comes from Alice Waters' method for roasting chicken. I sometimes leave the chicken breast-side down for only ten minutes if it seems like the bird is browning very fast (adding the extra five minutes to the final portion while breast side-up), so be sure to keep an eye on your chicken during this part.
To make the roasted chicken: Preheat the oven to 425˚F. Lightly oil a heavy-bottomed roasting pan or cast iron skillet.
Remove any innards still inside of the chicken and pat the outside and inside dry.
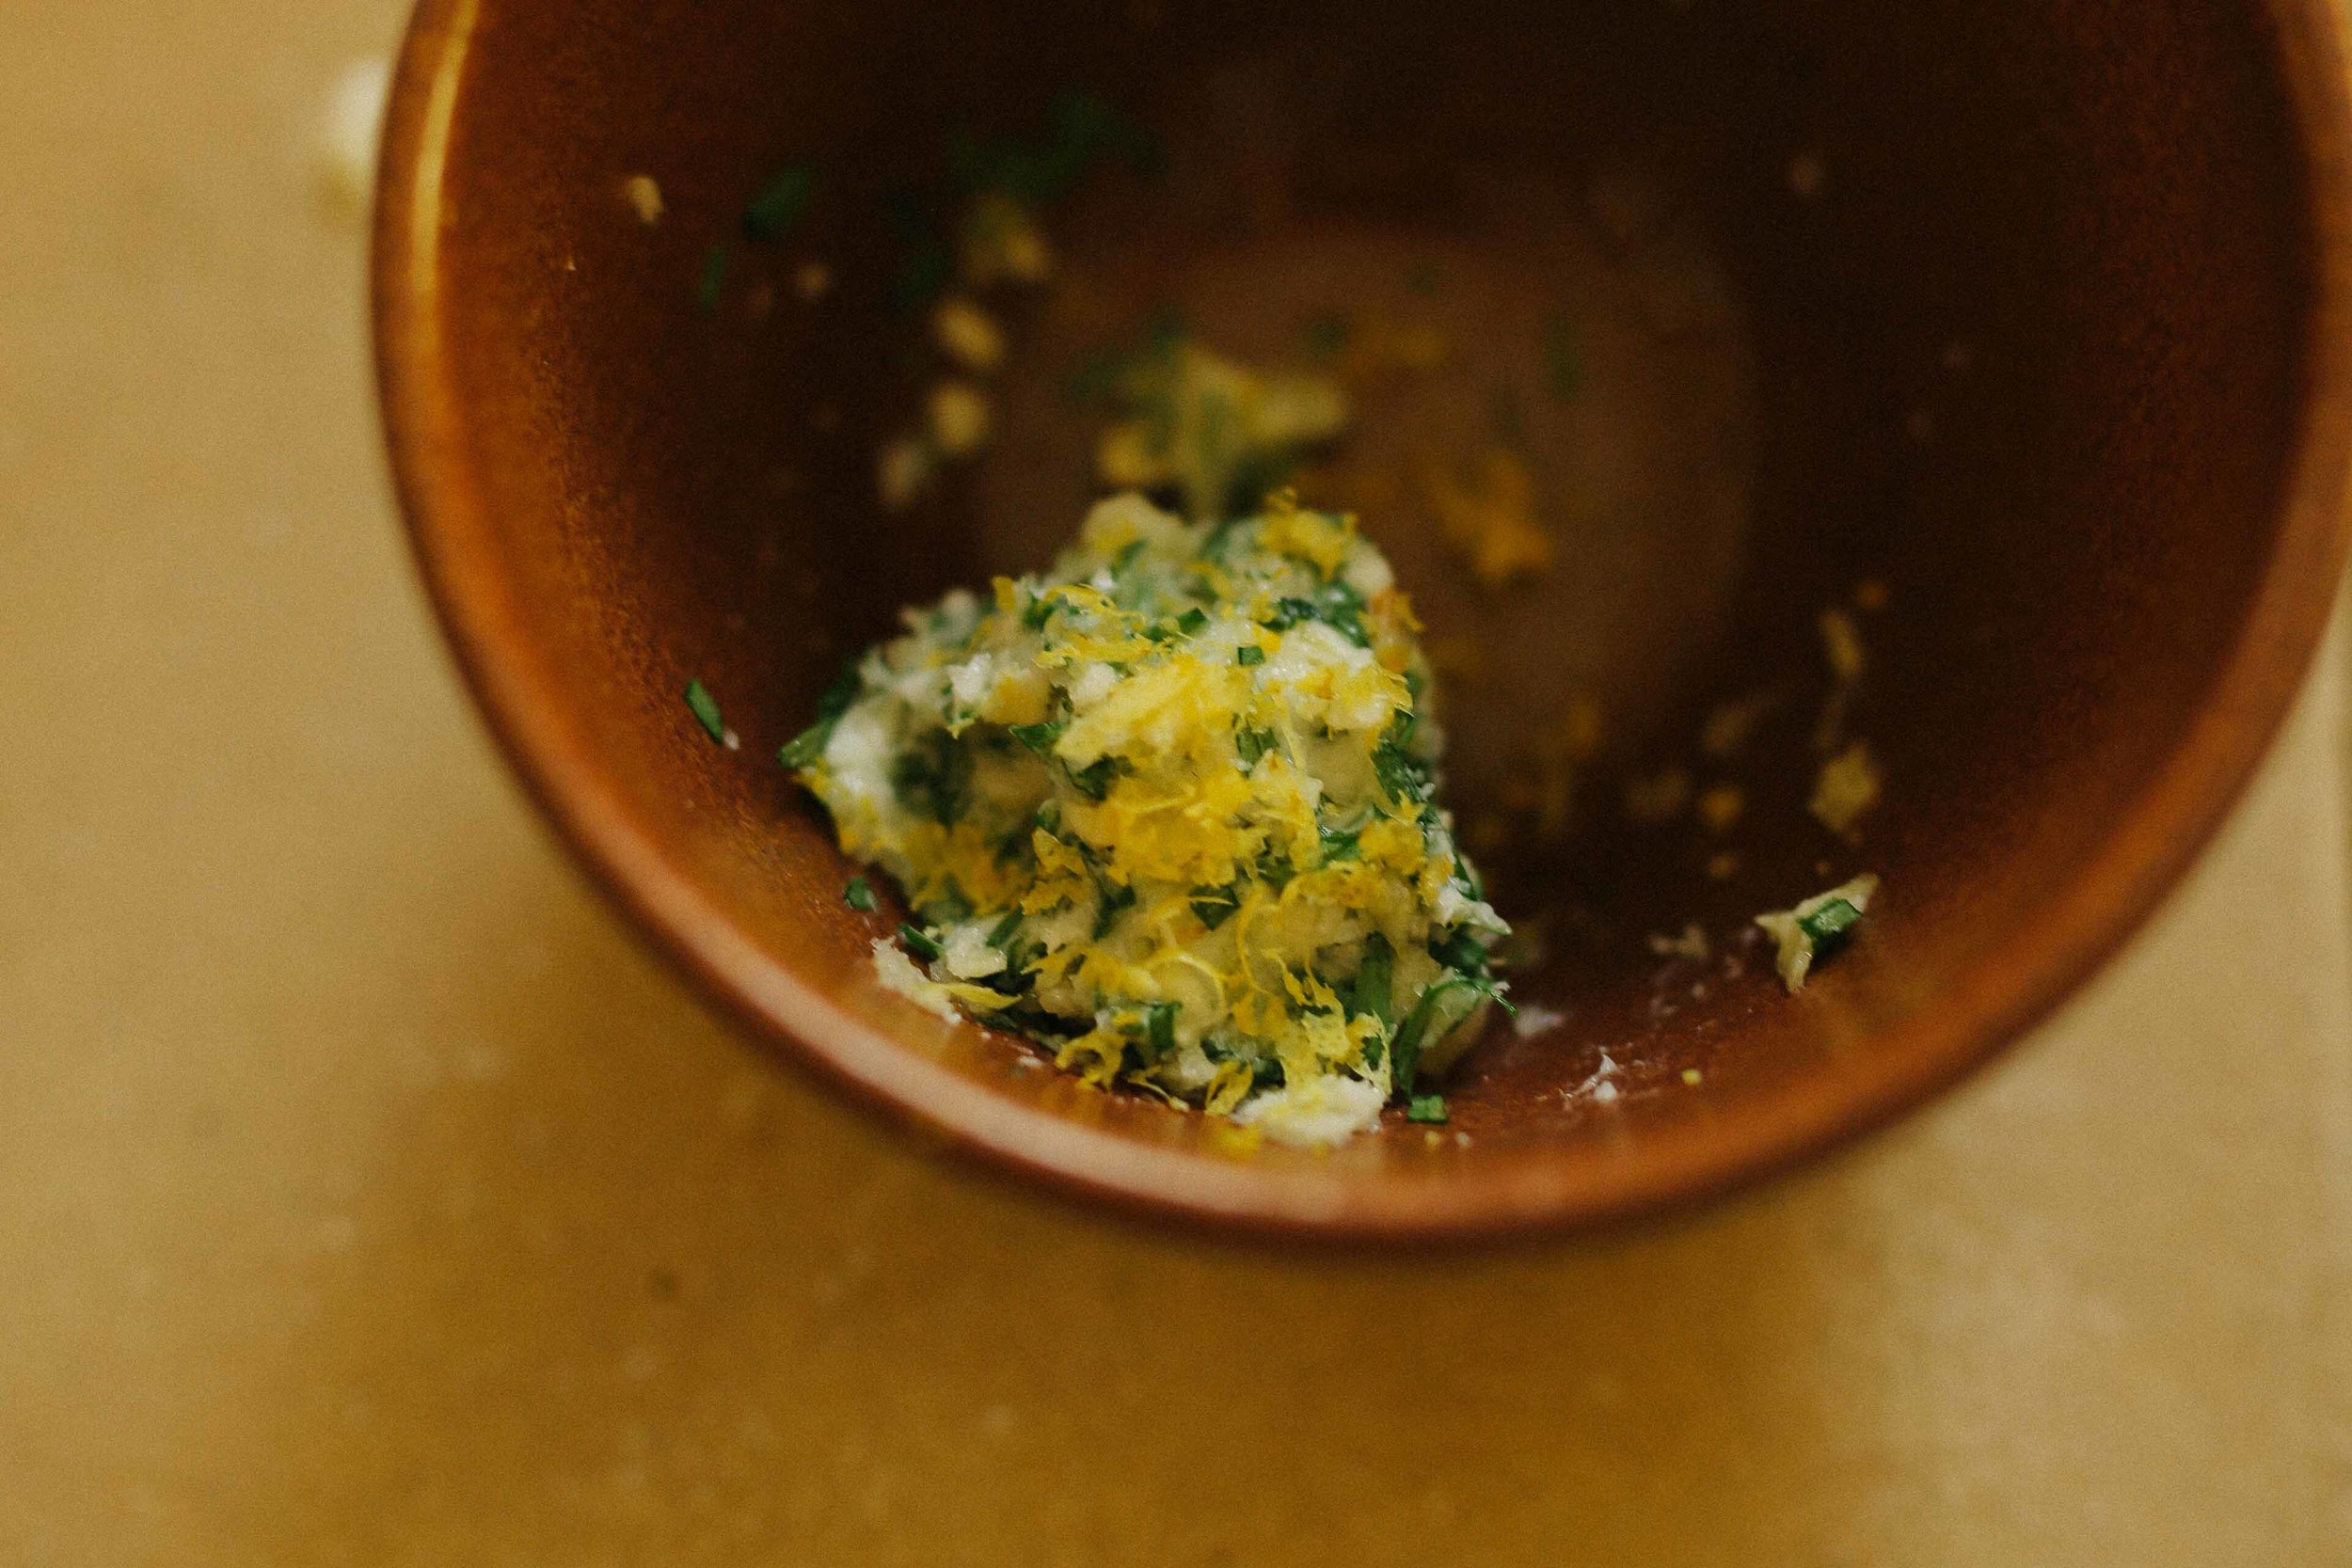
Combine the rest of the ingredients for roasting the chicken in a small bowl, smushing everything together with your fingers. Ta-da! You've made a compound butter.
Gently lift the skin from the breast of the chicken just enough so that you can spread some of the butter around on the meat underneath the skin (this helps to lock in the flavor, baste the meat, and keep the garlic/herbs/zest from burning. Spread 2/3 of the butter on the breasts, then spread the remaining 1/3 underneath the skin of the thighs. Try your very best not to tear the skin of the chicken; you want it to stay in place to help keep the meat from drying out during cooking. Sprinkle a little salt inside of the chicken cavity and place in your pan breast side-up.
Put the pan with the chicken in the oven and reduce the heat to 400˚F (the extra bit of heat helps the skin to begin browning). Roast for 20 minutes, then flip the bird over breast-side down, and roast for 15 minutes. Flip again, and continue to roast for 20-15 minutes, or until the chicken is 165˚F at the thigh, the skin is browned and crisp, and the juices inside run clear when the chicken is tilted neck-up in the pan.
Remove the chicken from the pan and let rest, loosely tented with foil, while you make the pan sauce.
To make the pan sauce: place the roasting pan (still with its drippings) over medium-high heat and add the shallots, stirring constantly. Cook for 15-30 seconds, then deglaze the pan with brandy, scraping the pans bottom to stir up all of the fond (cooked on drippings/leftover meat bits) into the sauce. Let reduce by 1/2, then add the chicken broth, (if using) and reduce again until the sauce is viscous and approaching the consistency of a glaze.
Remove the pan from the heat, add a generous squeeze of lemon, the fresh tarragon, and the cream, and stir to combine. Taste, and add additional salt and/or lemon if necessary. The sauce may be held briefly on the lowest possible flame while you carve the chicken, though you may need to whisk it briefly before serving (do not let it boil once you've added the cream, or it may separate and become greasy looking).
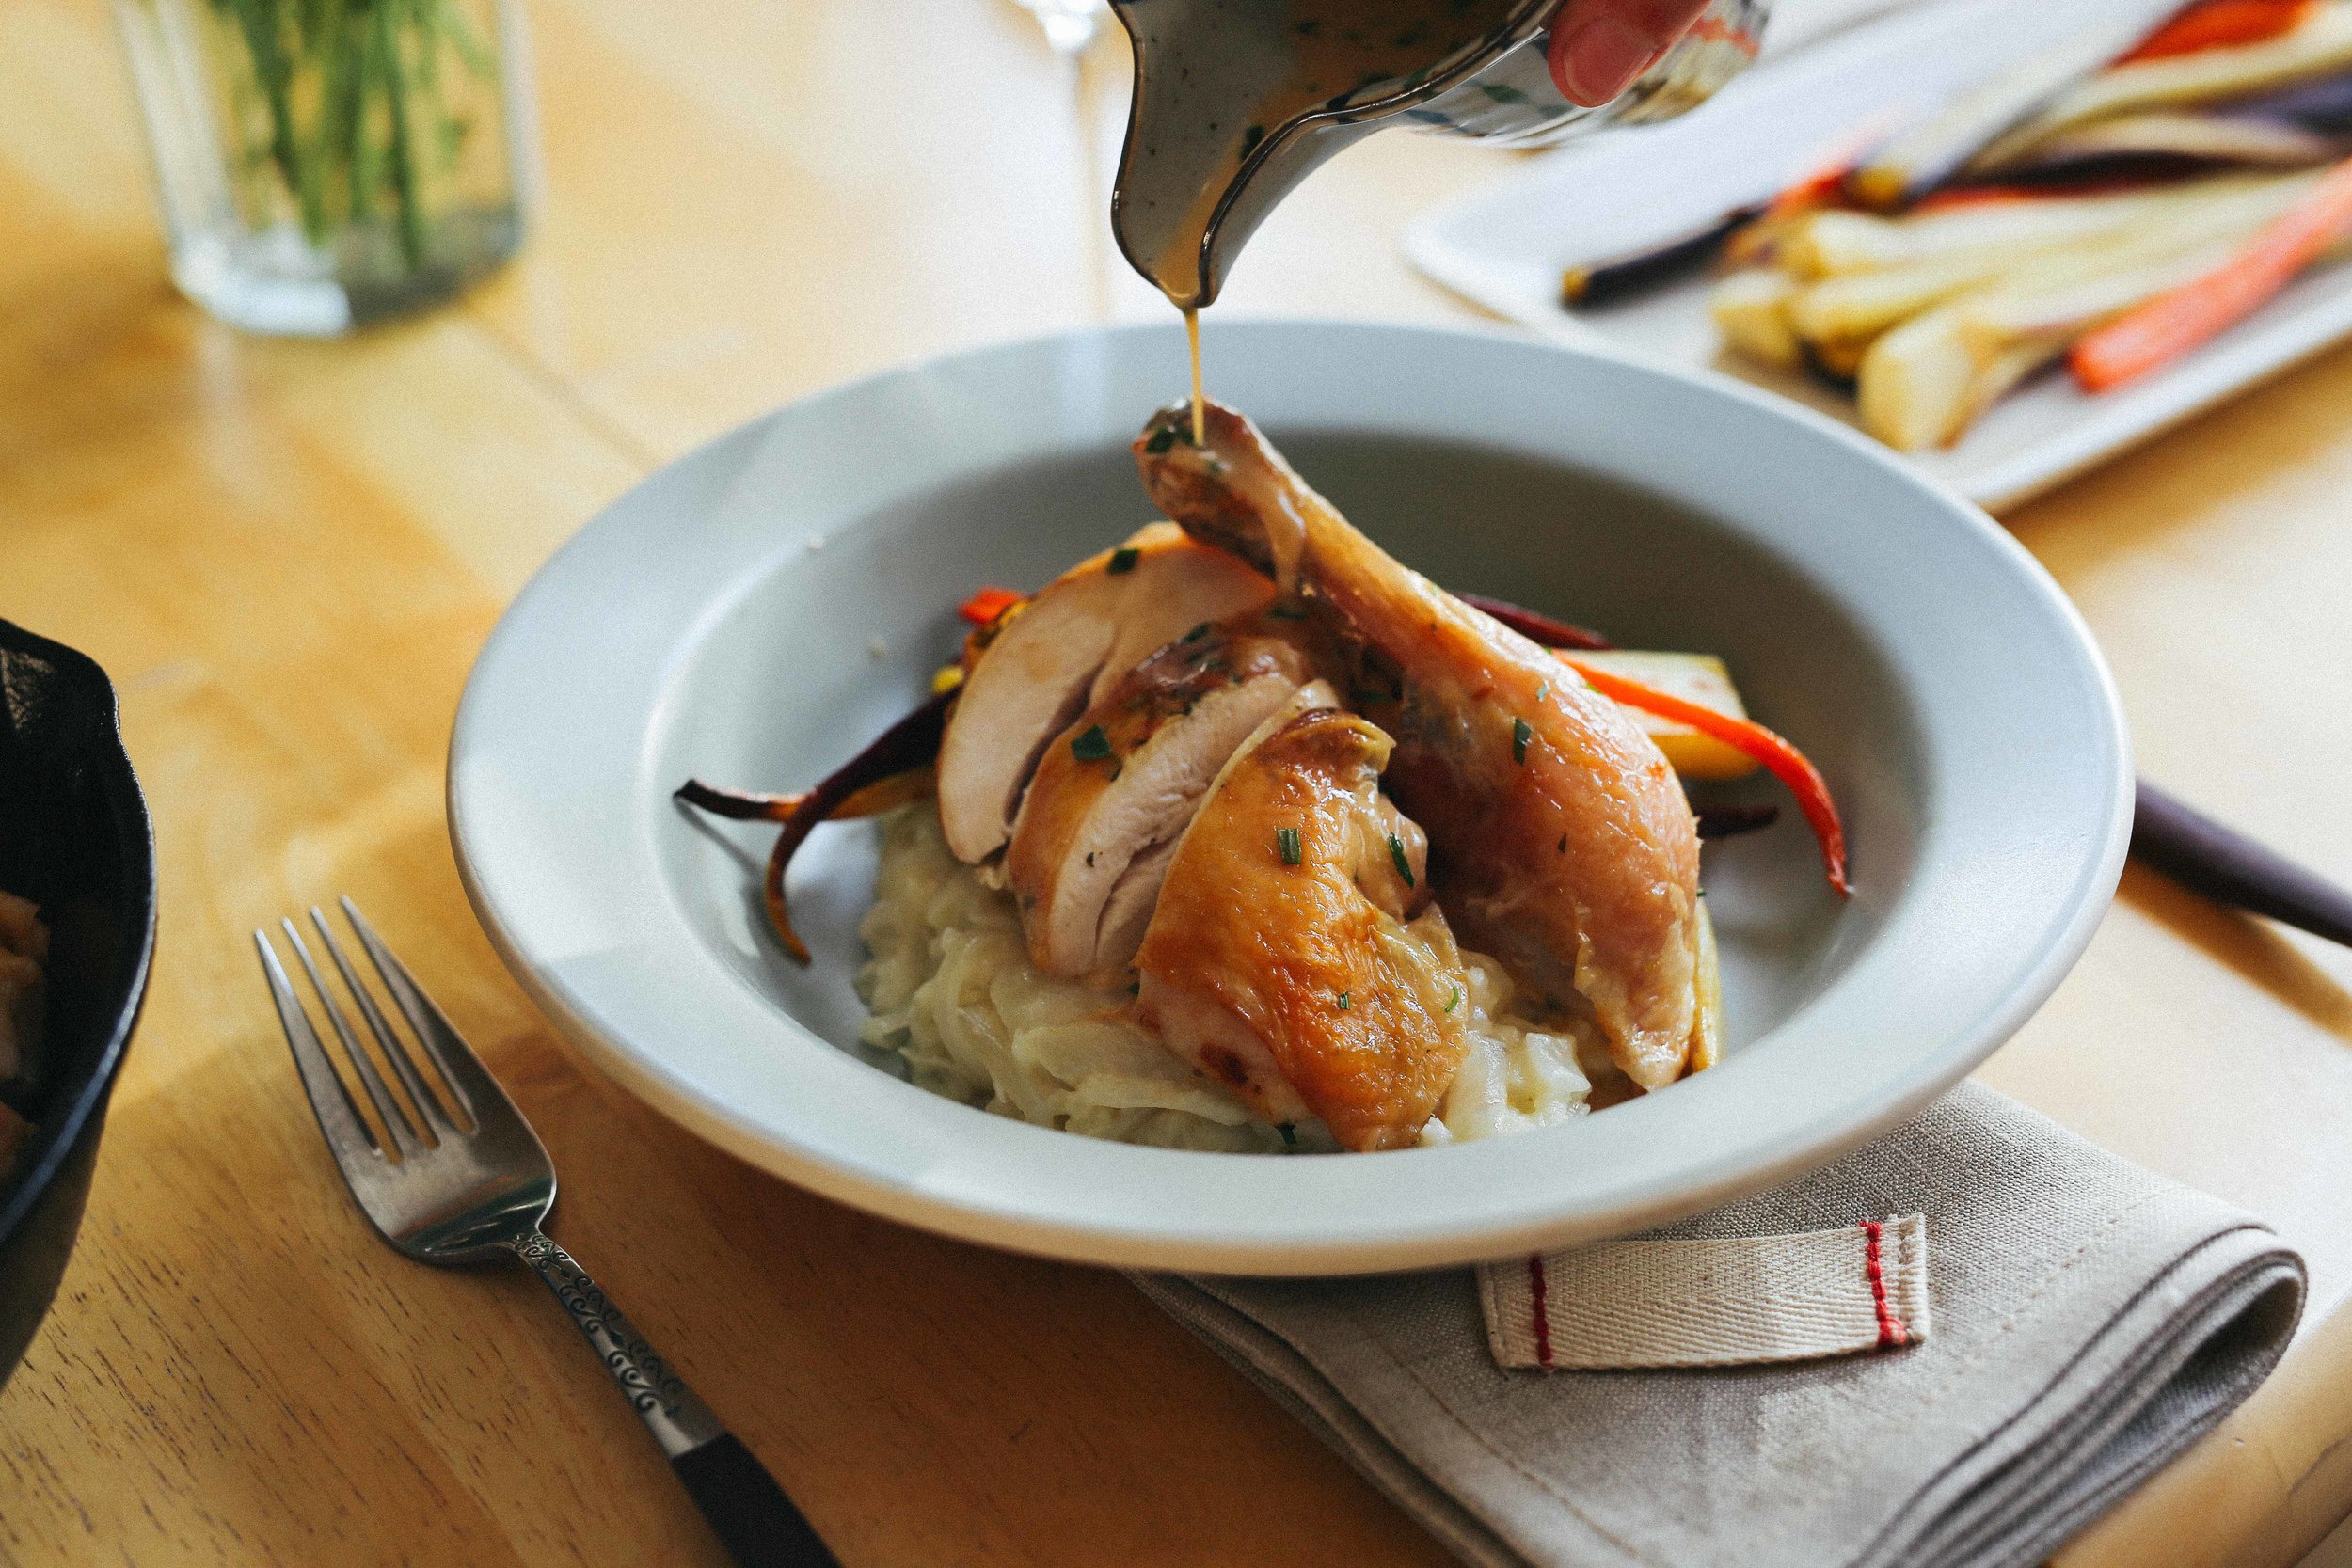
Serve the carved chicken straightaway with the sauce.
FOR THE ROASTED CHICKEN:
1 whole chicken, preferably organic and air-chilled
2 tablespoons unsalted butter, at room temperature
zest of 1 lemon (save the rest of the lemon for the pan sauce)
1 generous pinch kosher salt, plus additional salt for the chicken cavity
a little freshly ground black pepper (but not very much, just a grind or two)
2 teaspoons finely chopped tarragon
2 cloves garlic, finely minced
FOR THE PAN SAUCE:
1 medium shallot, minced
1/2 cup brandy
1/2 cup homemade/good quality chicken stock (optional; omit if not good quality)
lemon juice, to taste
2 teaspoons finely chopped tarragon
1/4-1/3 cup cream
kosher salt (optional! Taste the sauce before adding, it may be salty enough from the chicken drippings)