FIELD & FOREST

antioxidant power oatmeal

breakfast, autumn, vegetarian, vegan, winterRachel SandersComment

This isn't exactly a recipe, but it's my favorite thing to eat for breakfast when camping or backpacking (this is what we ate on the Amethyst Basin backpacking trip). Oatmeal gives me the warming boost I want for my belly (and my hands) in the morning, and it gives me enough energy to carry me through until a late-morning snack or lunch on a high-activity day. Adding in trail mix with lots of seeds and berries makes it flavorful and texturally interesting, while the nut butter makes it creamy and luxurious and even more stick-to-your-ribs-y.

There aren't solid quantities in this recipe because you should make as much or as little as you want to eat, and add as much and as little trail mix/nut butter as you want to have! The world is your oyster.


ANTIOXIDANT POWER OATMEAL
Serves 1

rolled or instant oats
hearty trail mix (see below for my favorite add-ins)
nut butter


Put about 1/2 cup of oats into a bowl. Pour some boiling water over the oats (a lot or a little, depending on how thick you like your oatmeal) and let sit for a minute or two to soften the oats.

Stir in as much trail mix and nut butter as you want. Now, eat it!

My favorite trail mix for this breakfast usually contains most or all of the following:

pumpkin seeds (pepitas)
goji berries and/or cranberries
currants and/or raisins
walnuts and/or cashews and/or almonds
cacao nibs
candied ginger pieces

amethyst basin - high uintas wilderness, utah

Rachel Sanders2 Comments

AMETHYST BASIN - HIGH UINTAS WILDERNESS, UTAH


Distance (roundtrip) - 13.2 miles

Elevation Gain/Loss - 1,950 feet

lowest elevation (christmas meadows trailhead) - 8,790 feet

Highest Elevation (Amethyst Meadows) - 10,360 Feet

Highest elevation (Amethyst lake/basin) - 10,740 feet

Difficulty - Moderate/strenuous

Water Source - natural, Filtration necessary

dog-friendly - yes

Parking fee - Yes, $3 cash only (free with national parks pass)

ideal season to backpack/camp - summer/early fall

Campfire restrictions - no fires within 1/4 mile of lakes


TRAIL OVERVIEW

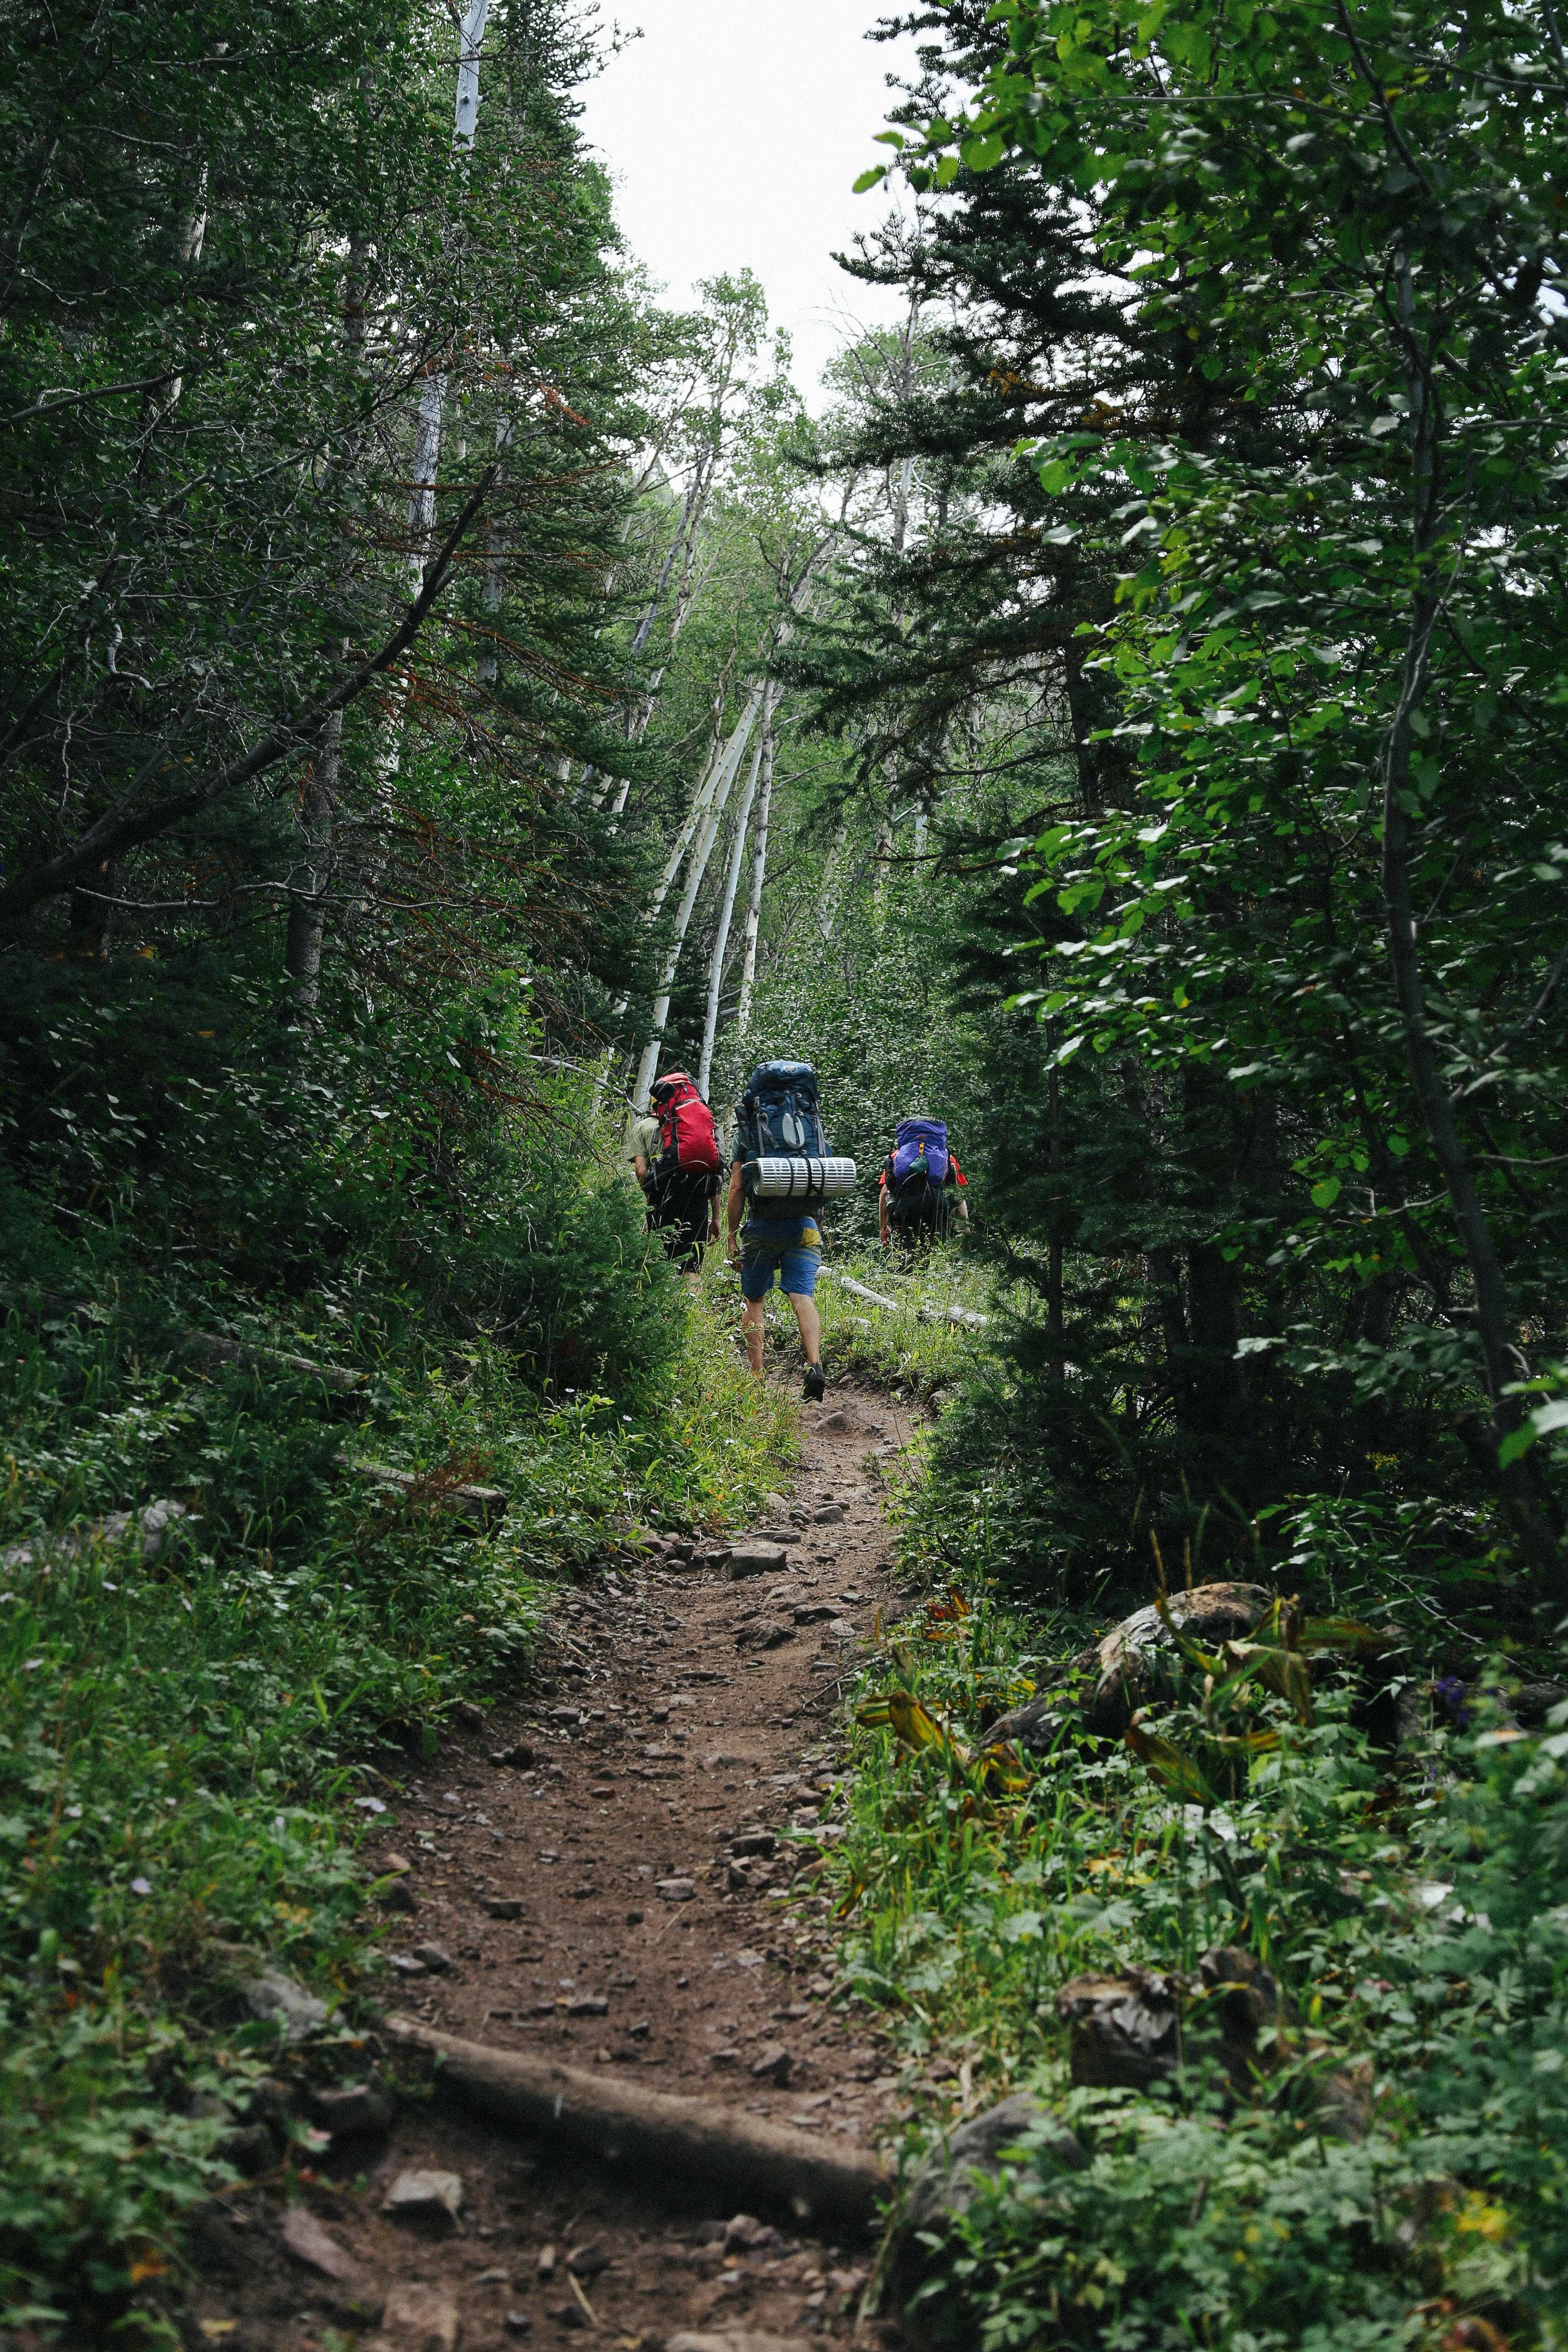
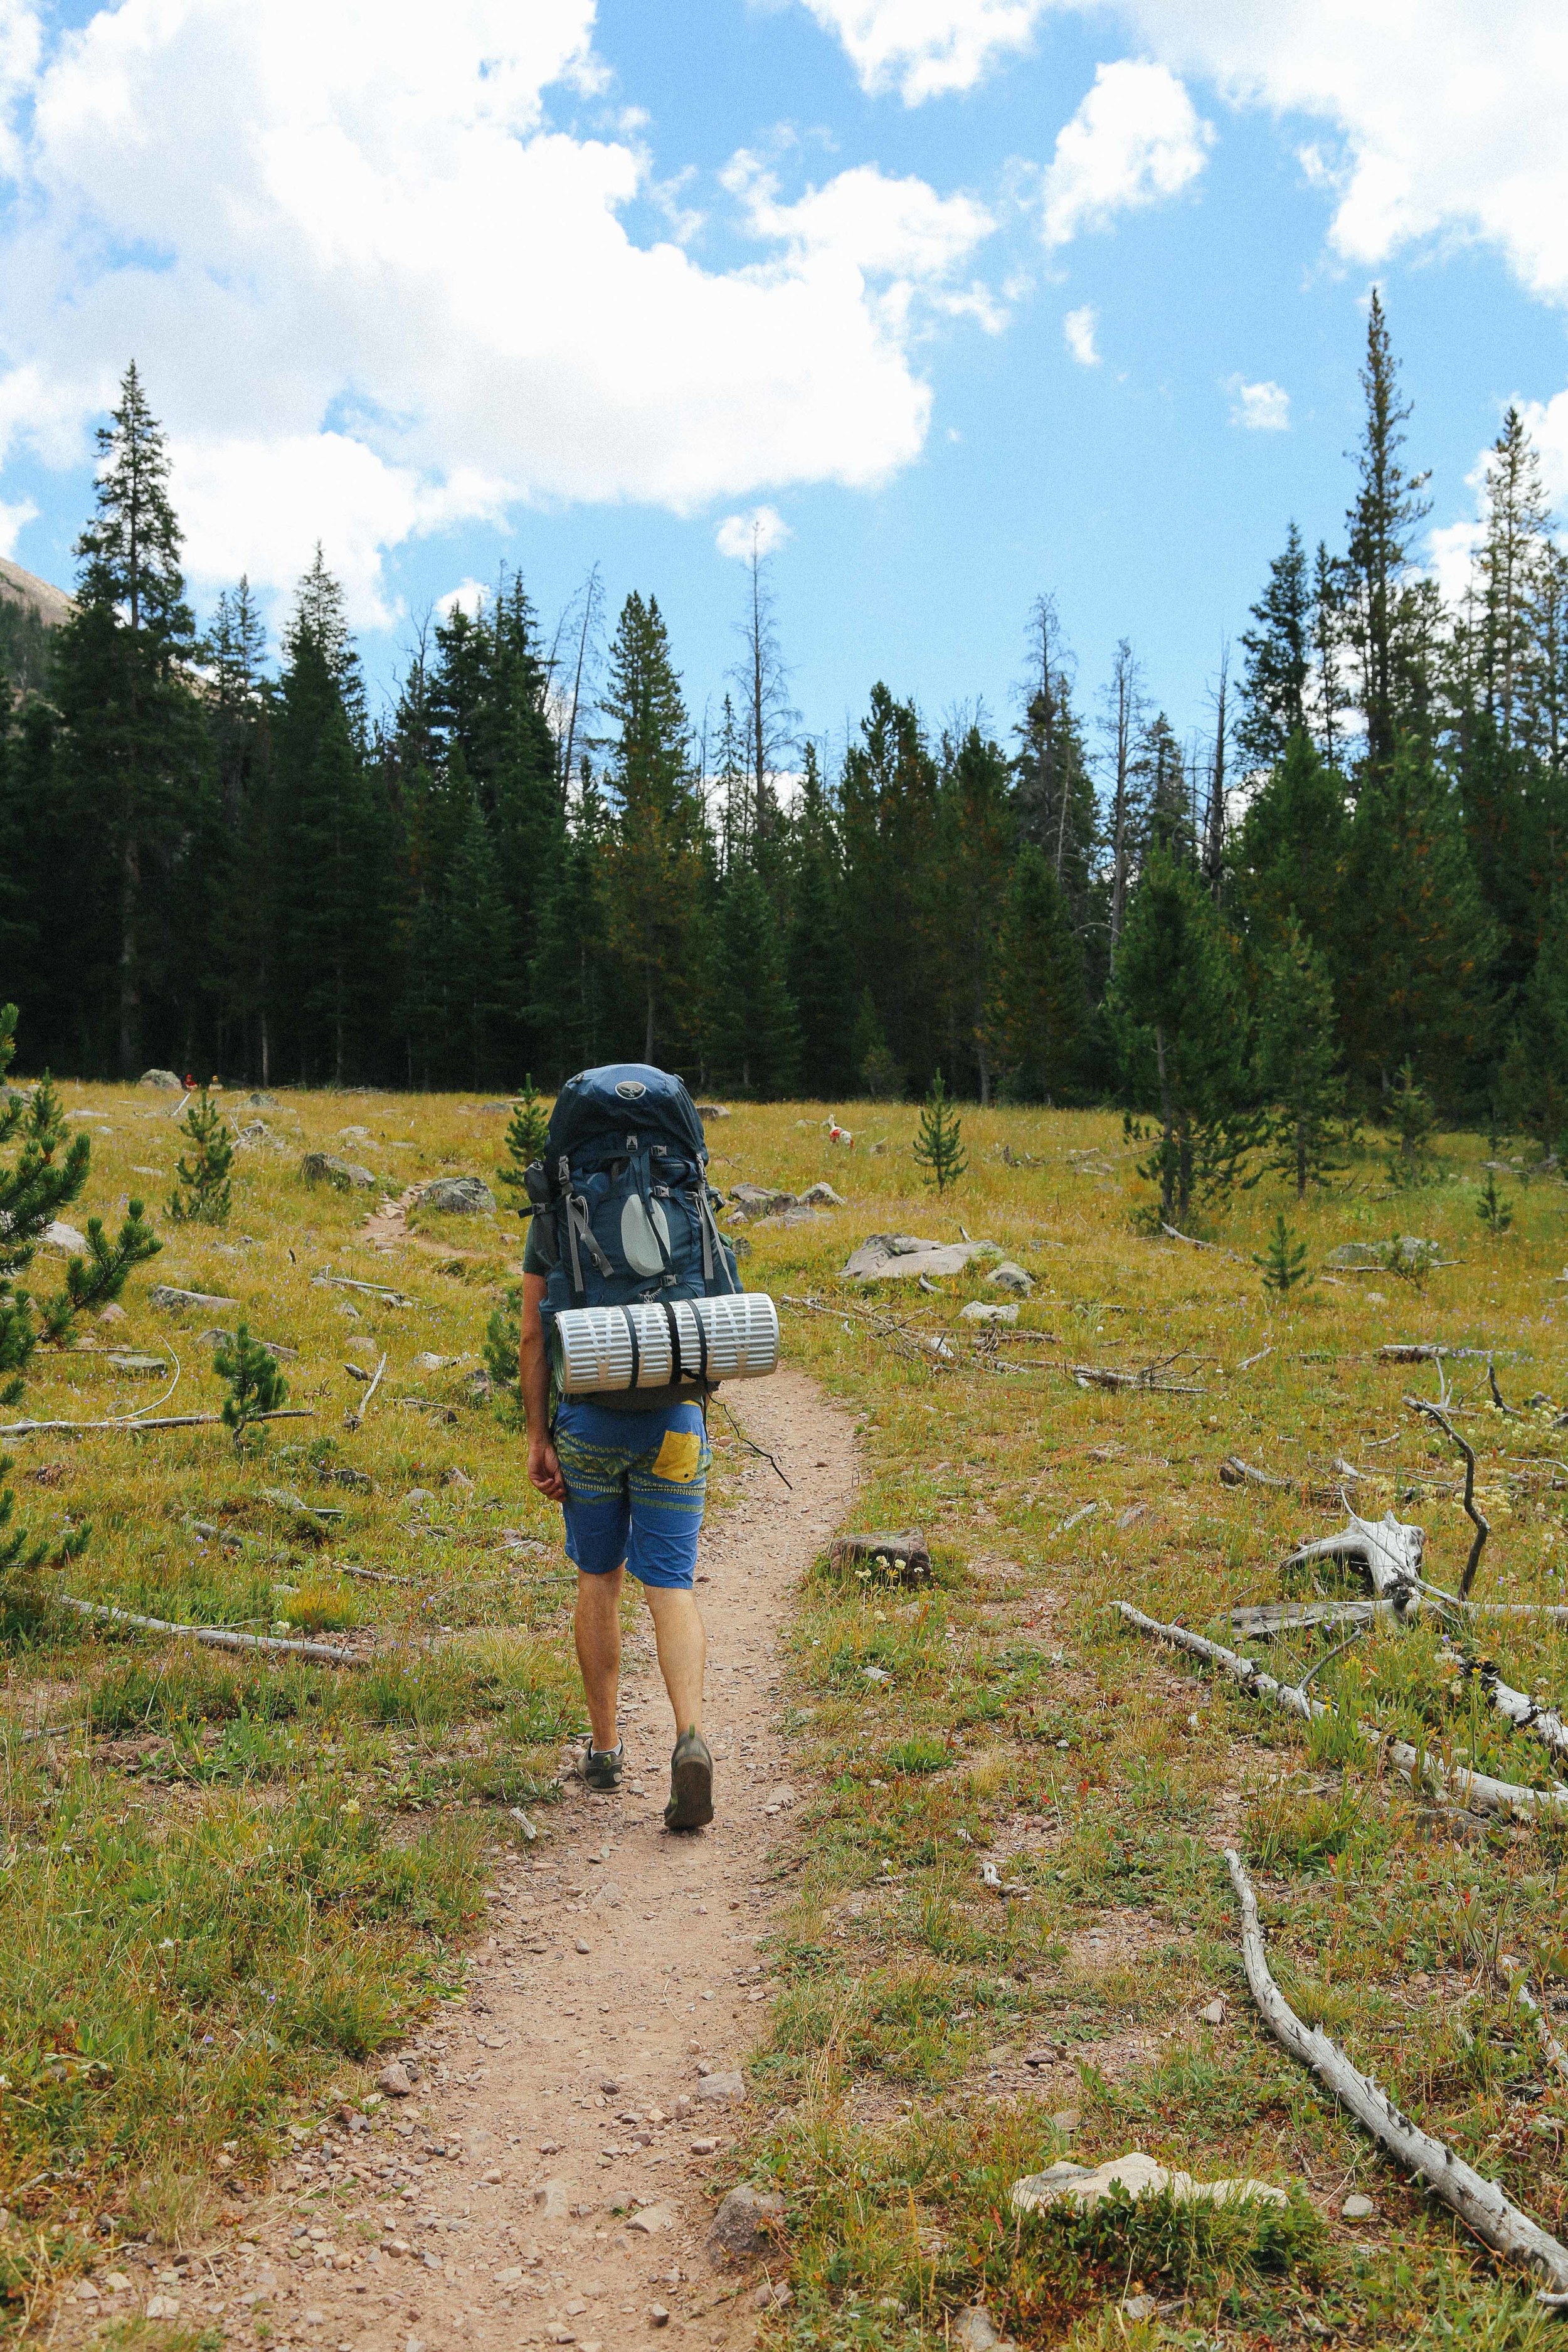
The trail to Amethyst Lake and Amethyst Basin starts at the Christmas Meadows trailhead. The parking lot is divided into a lower section (for general parking) and an upper section reserved for trailers (primarily for horse riders and shepherds). Two well-maintained pit toilets are located at the trailhead. You can use a National Parks pass to park at the campsite overnight (leave the pass on your dashboard so that the expiration date is visible, and write your pass number on one of the fee envelopes provided at the trailhead), otherwise you will need to pay a $3 parking fee using a parking fee envelope before beginning your hike.

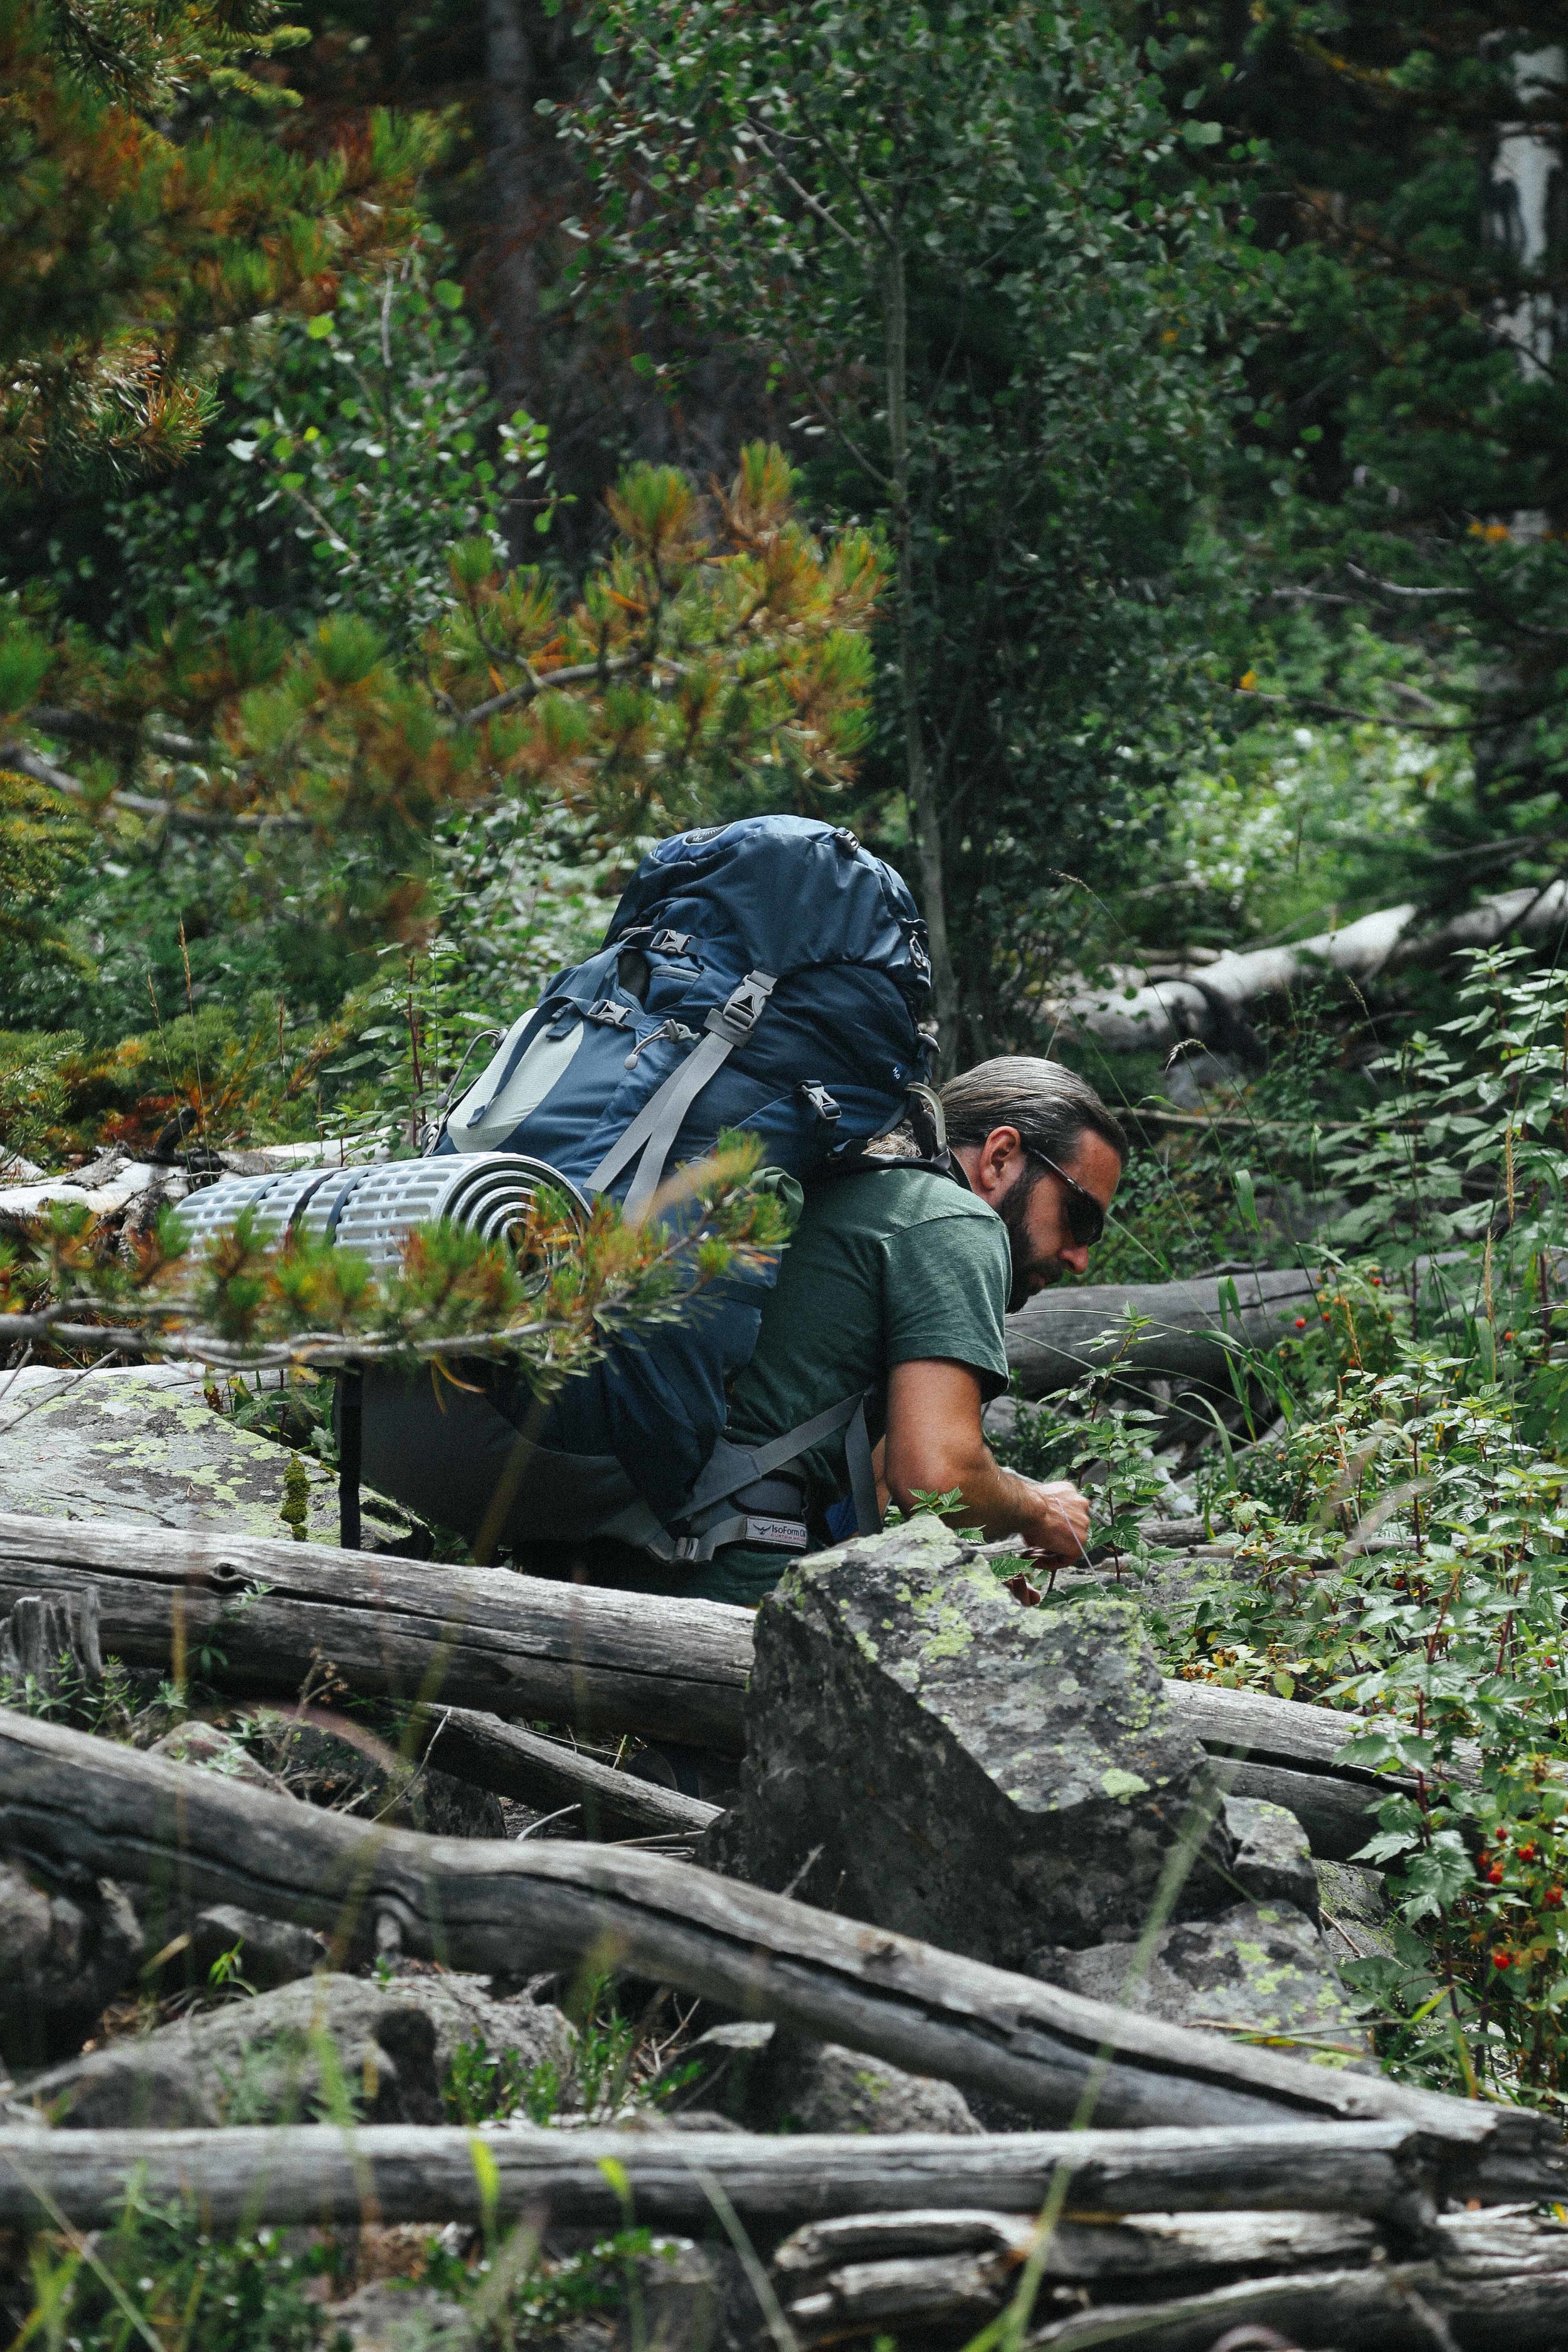
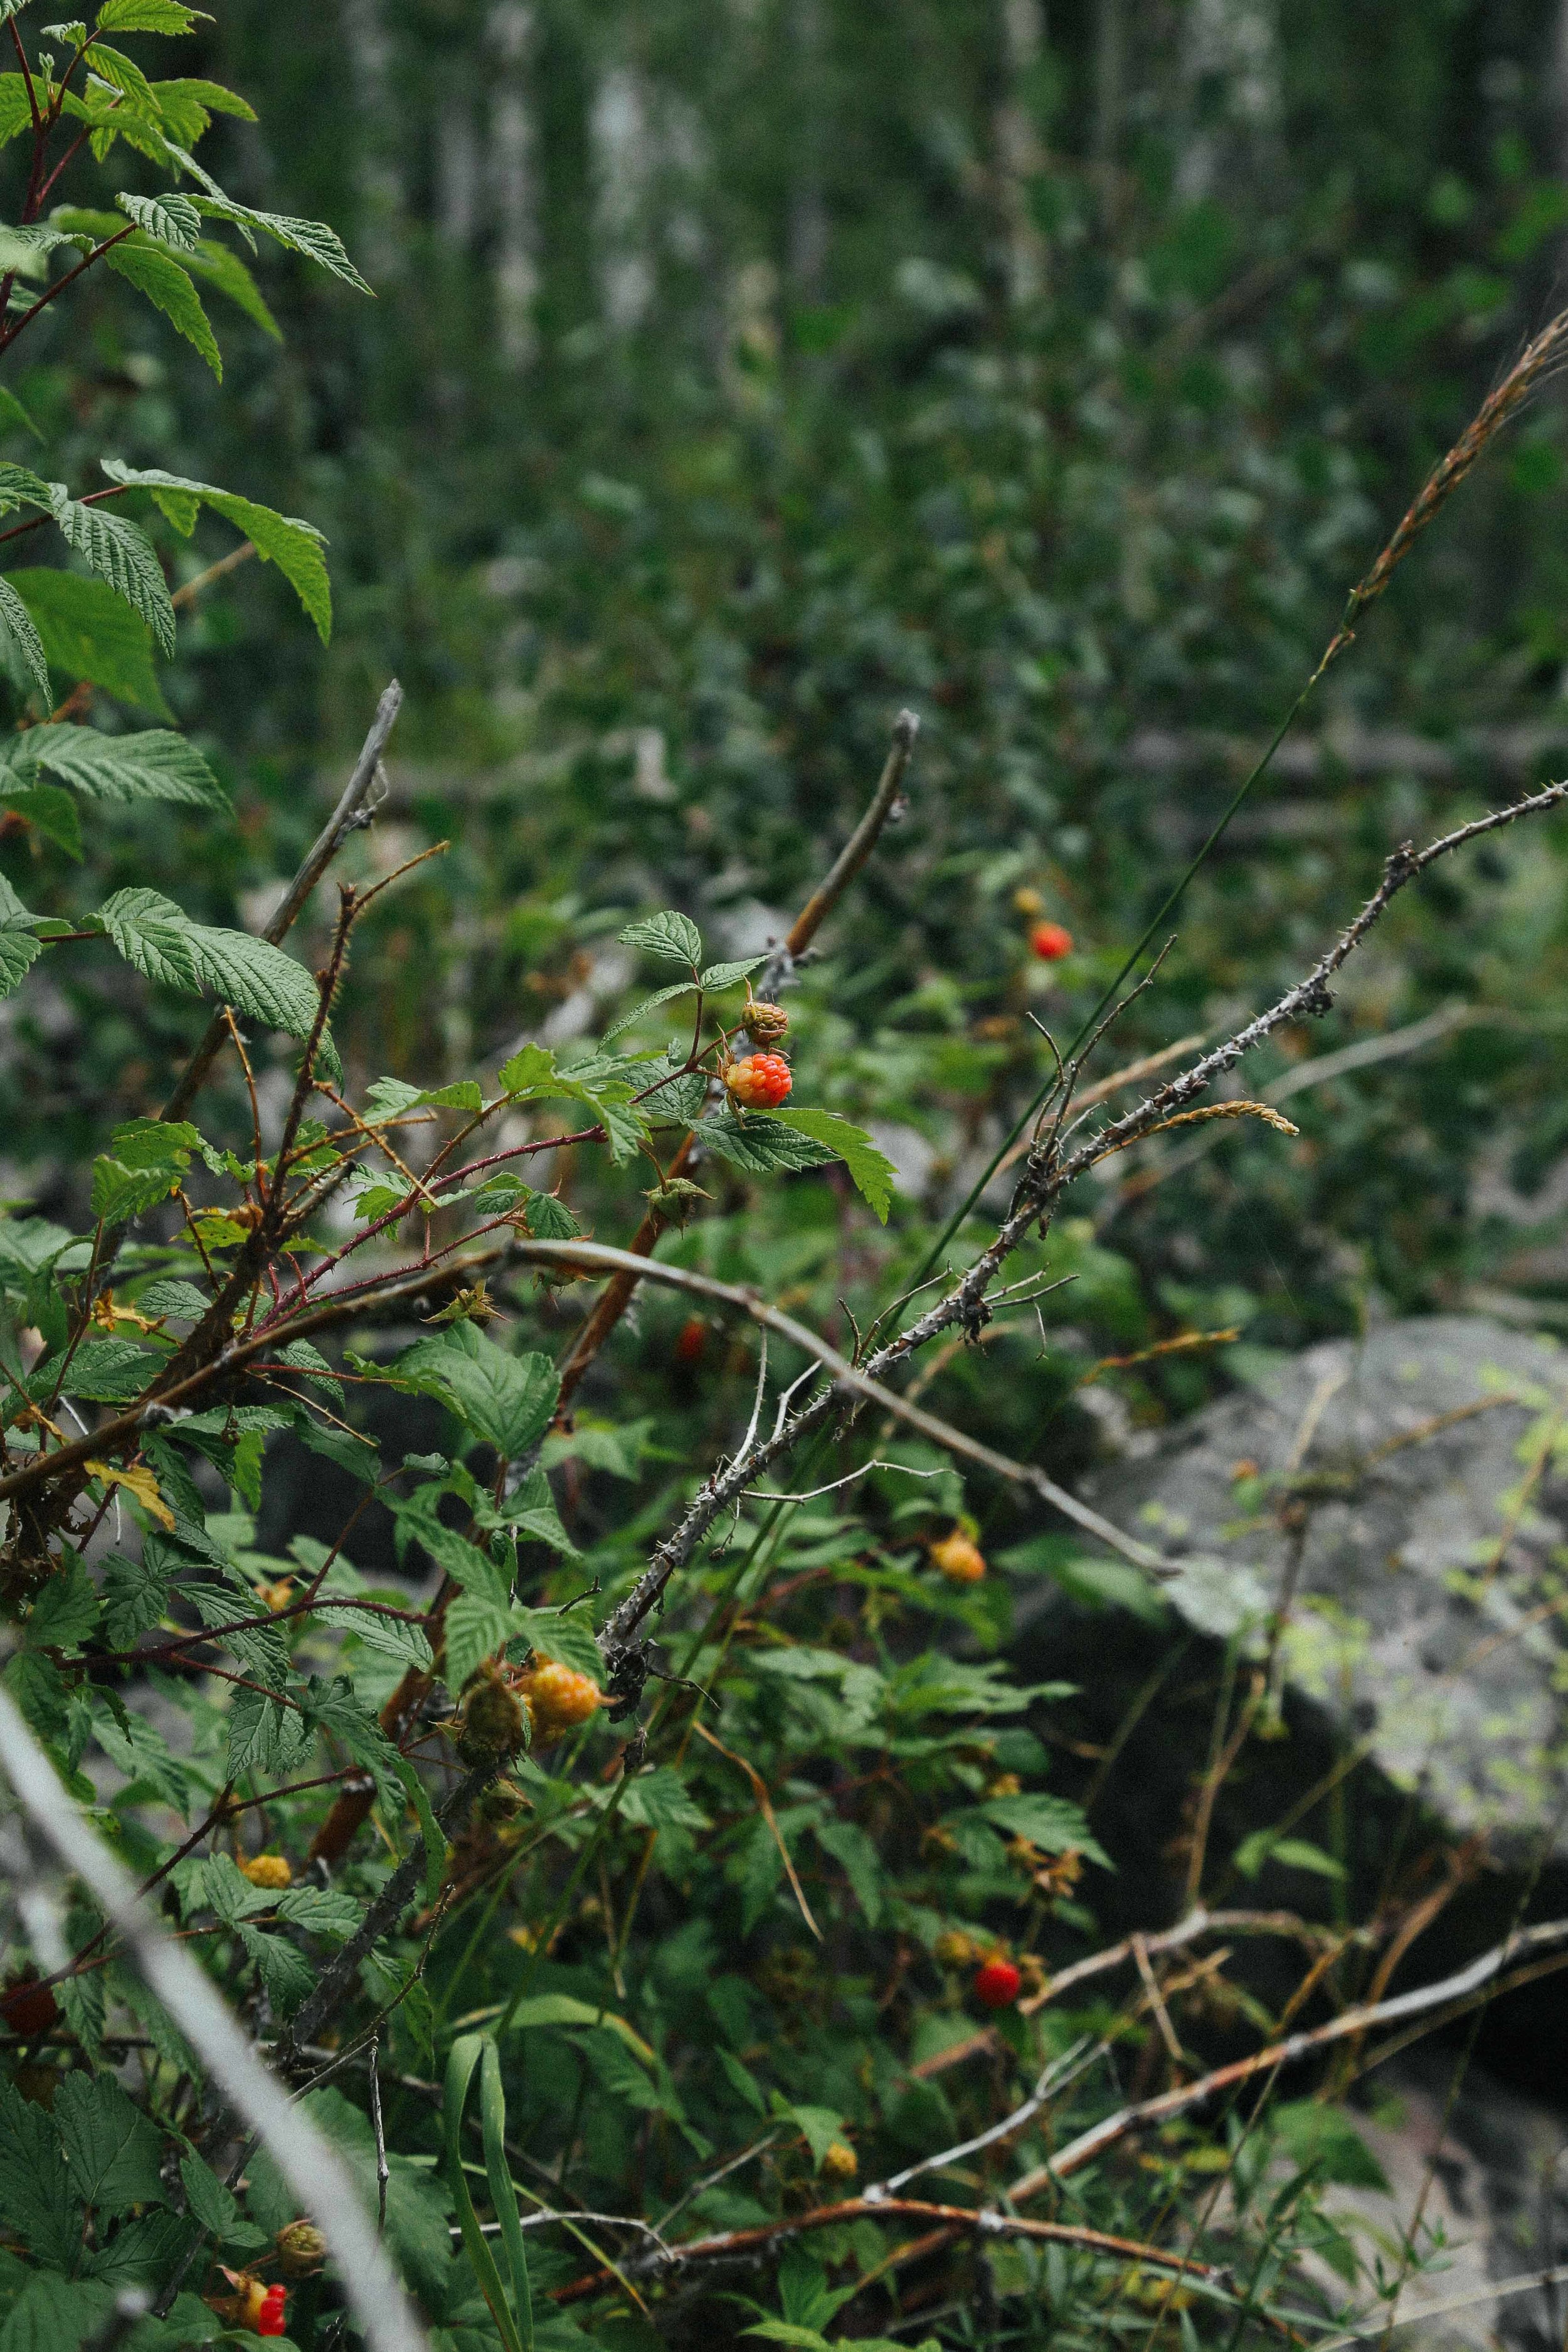
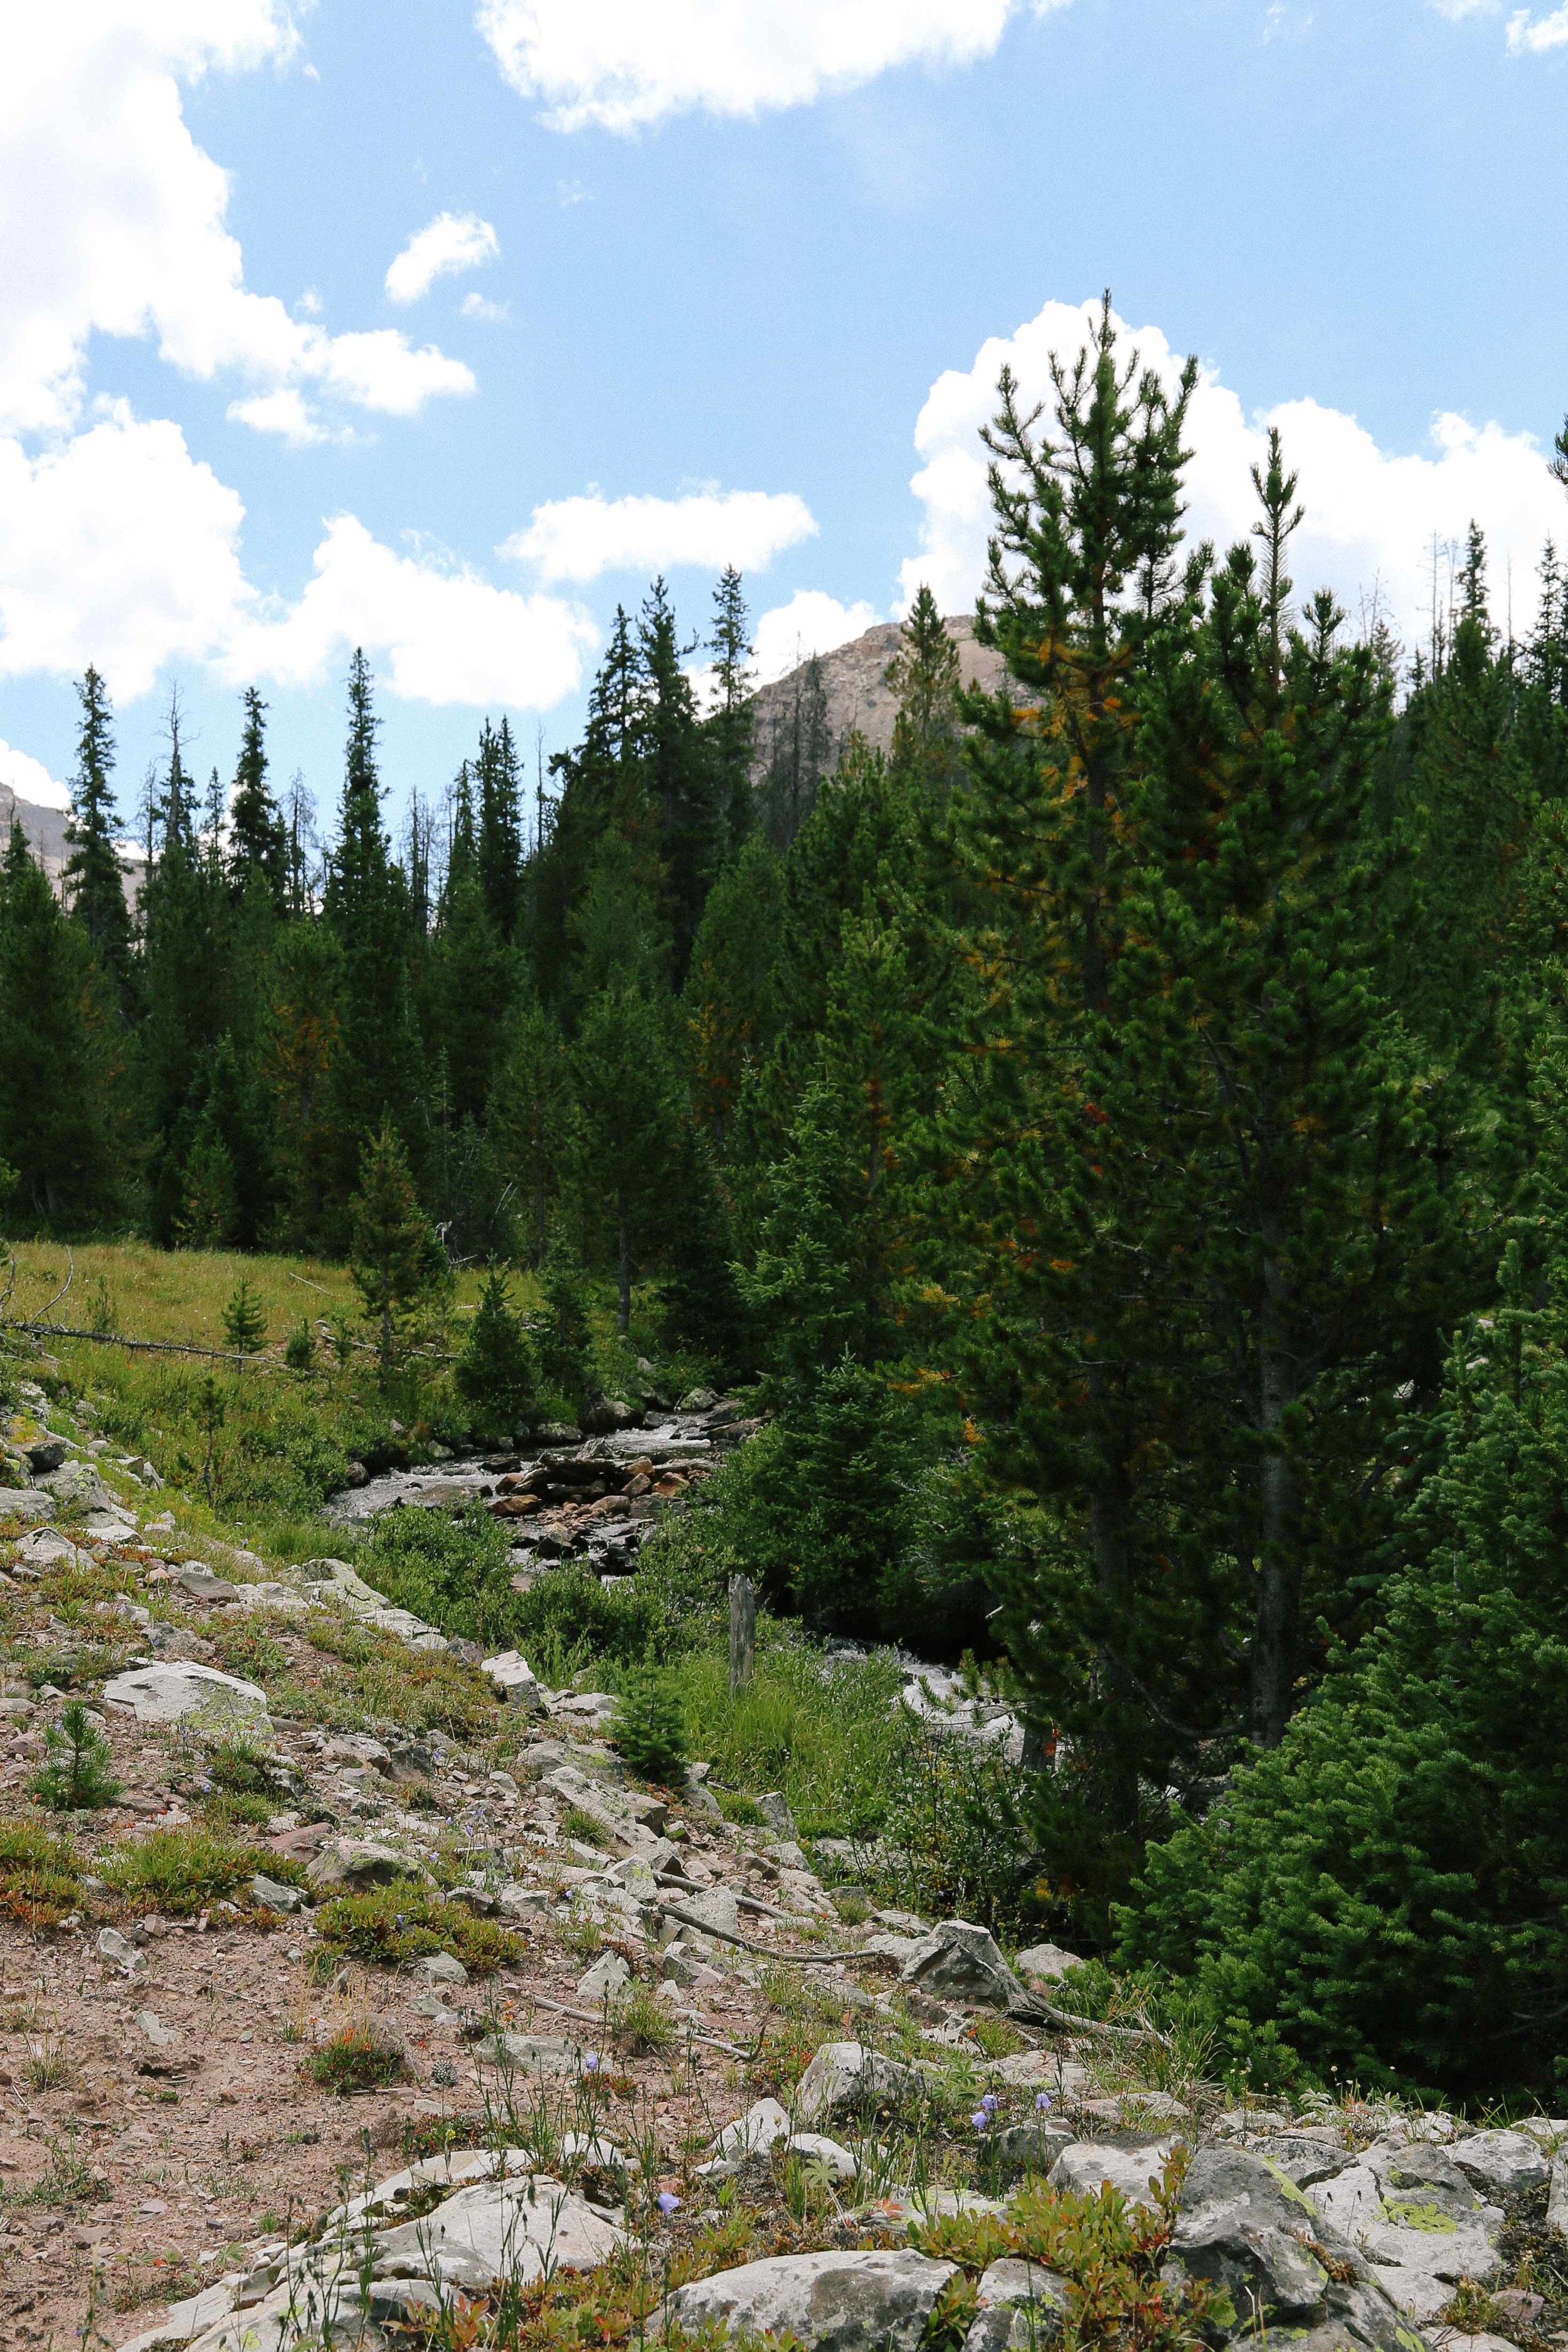
The first section of the trail winds its marshy way along streams and over brooks and grass for a relatively flat 2.5 miles. Wild raspberries and strawberries can occasionally be found along the trail. About 200 yards after passing the "High Uintas Wilderness" sign, the trail forks and veers left and sharply upward. It is easy to miss this turn-off, so keep your eyes peeled.

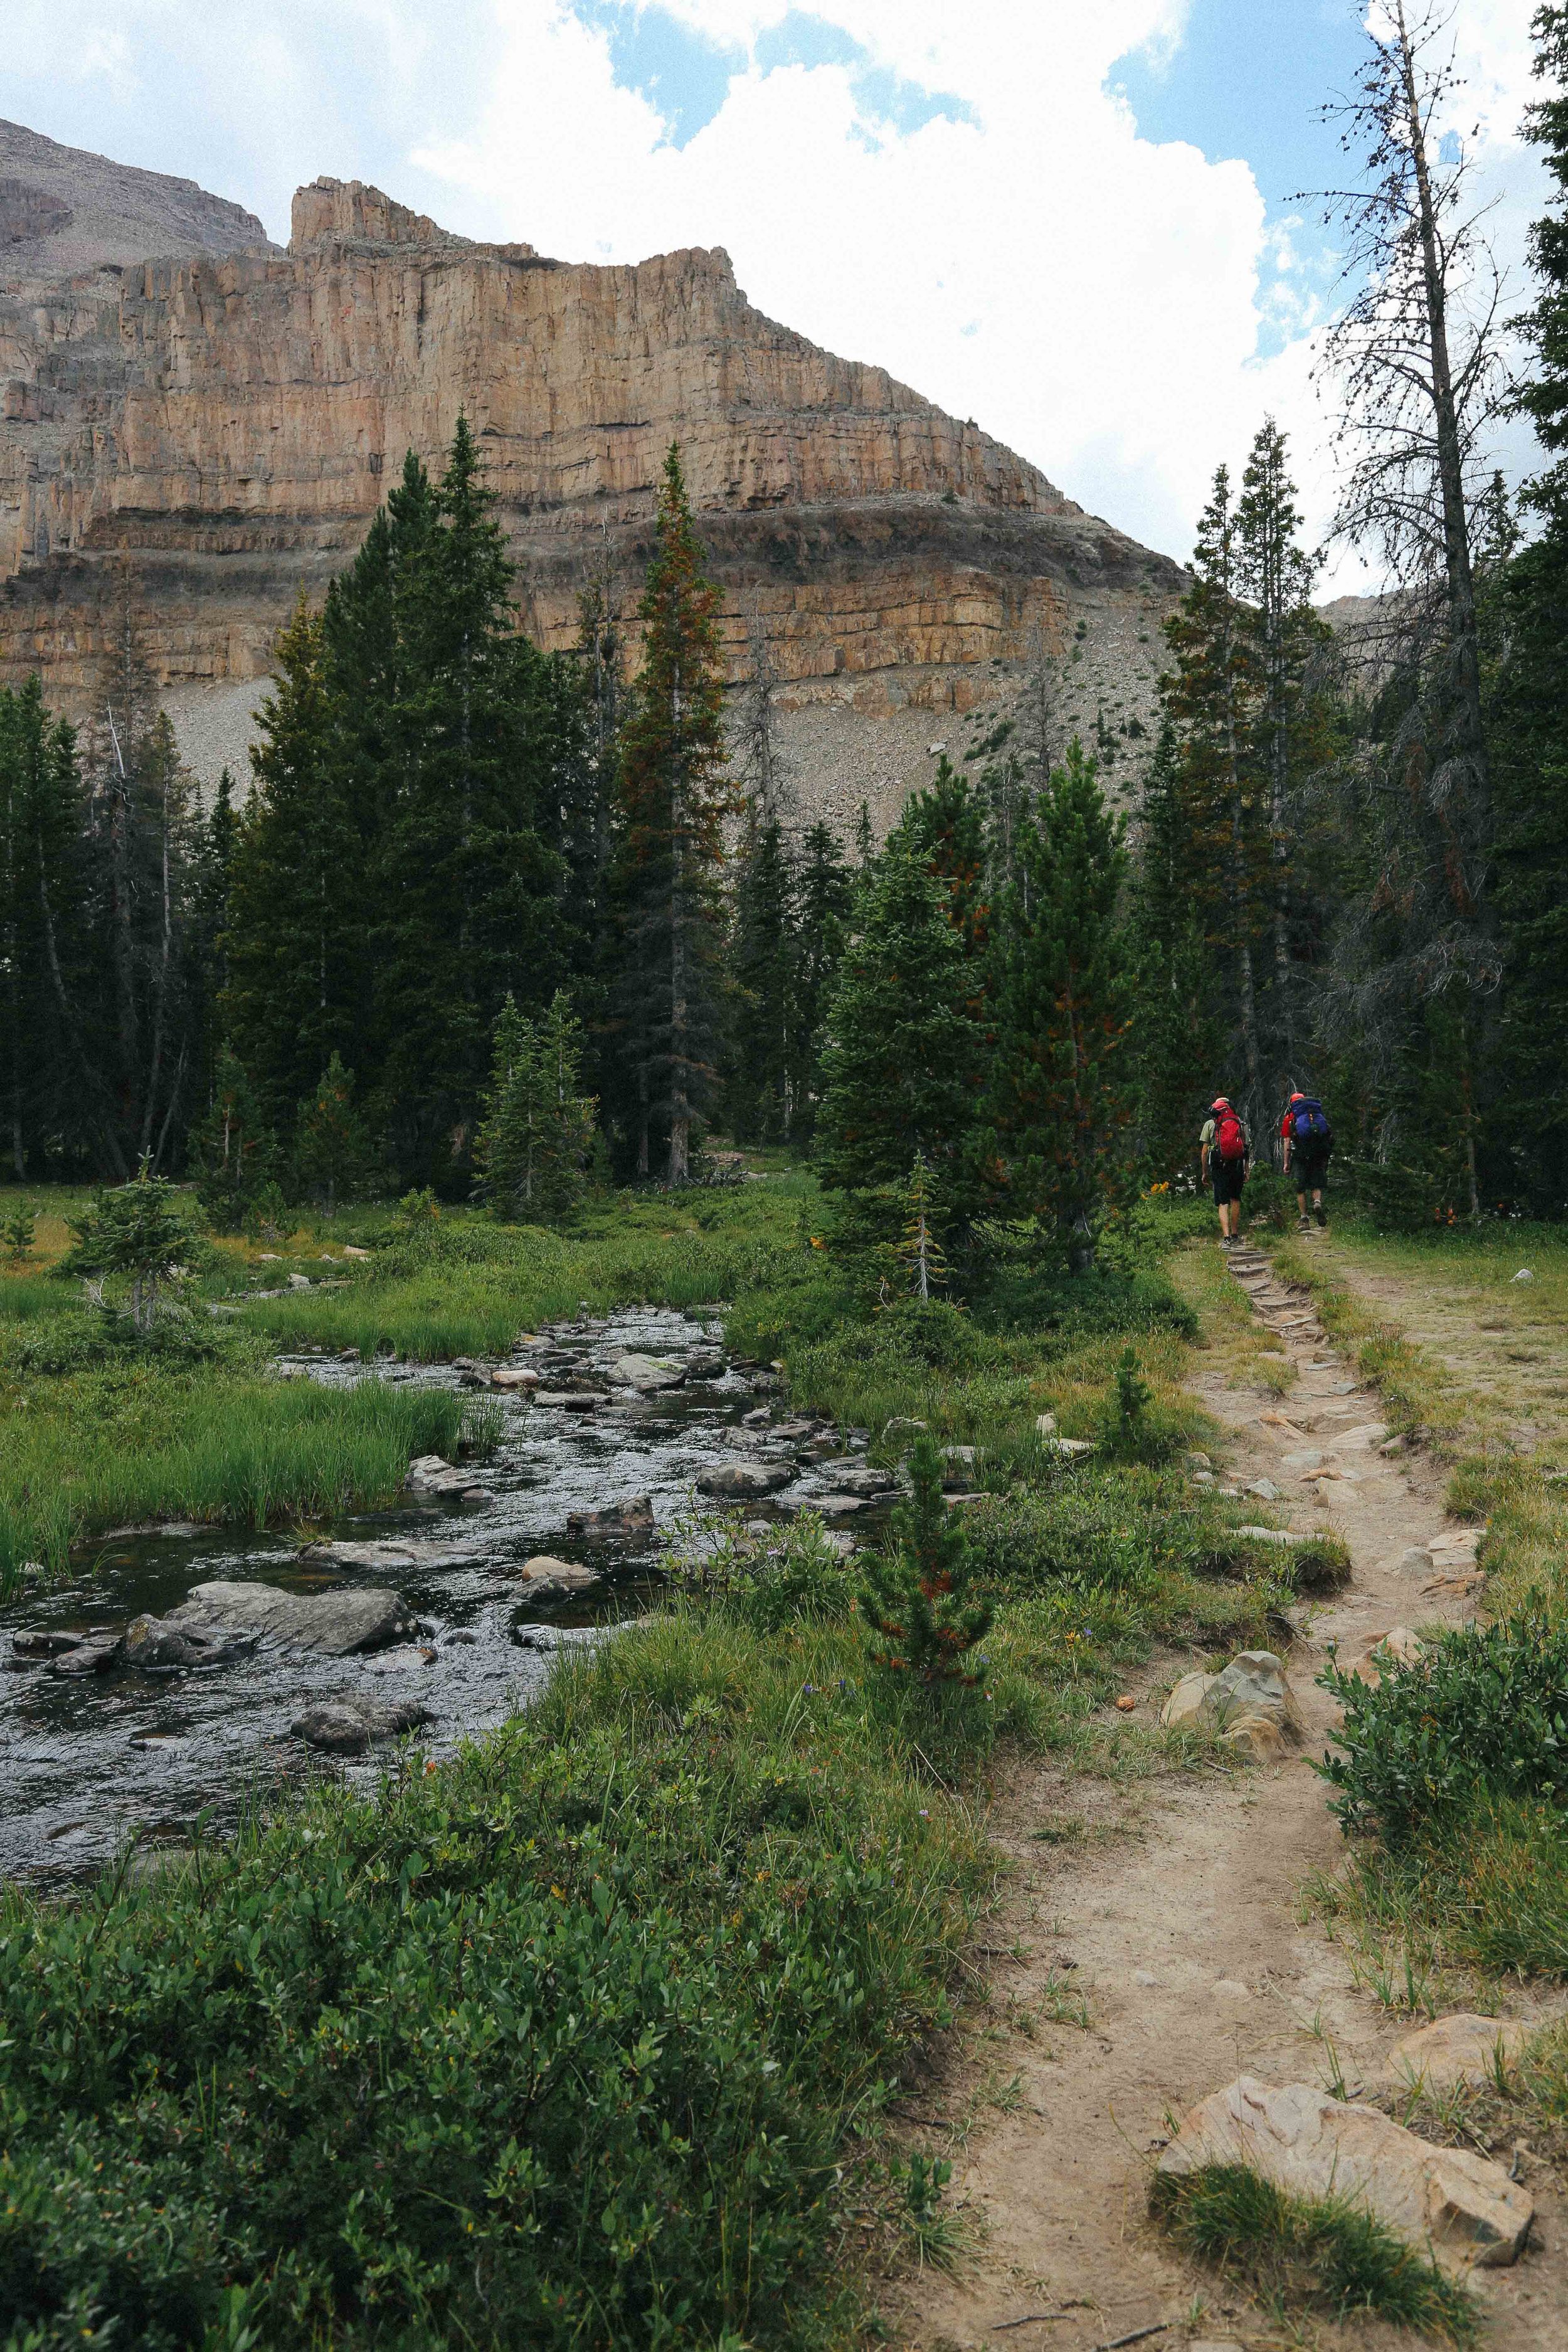
The next two miles are brutal, as they contain most of the 1,570 feet of elevation gain to Amethyst Meadows. Much of this section is steep switchbacks, with some minor scrambling over rocks. I was fine with my trail running shoes (which have a very large tread), though I imagine this section can become quite treacherous during rainy/snowy seasons (I would probably not attempt this part of the trail in poor weather without solid, waterproof hiking boots). There is a relatively flat landing partway up this section next to Ostler Creek, where we had a little sit-down and a snack and checked out the waterfall nearby. After this, the trail grade decreases somewhat, and the path continues along the creek through trees and small meadows, before arriving at Amethyst Meadow.

Amethyst Meadow is at the center of Amethyst Basin, and from here there are unobstructed views of both Ostler Peak and LaMotte Peak. Some people will choose to leave the trail at this point and camp along the edge of the meadow, as camping spots become both more popular and more scarce around the lakes ahead (which we discovered while we were looking for a site). You can always camp here and then make the 2 mile hike to the inner edge of the basin where Amethyst Lake is located.

To get to Amethyst Lake, you'll need to cross over Ostler Creek. You'll see where the path crosses the creek (where there are some stones and logs that people step on), but there is a much easier spot to cross about 25-30 feet to the left of that spot. The trail continues along the creek, and soon arrives at Lake BR-24, or Emerald Lake. Amethyst Lake is just short of a mile further up the trail. While Emerald Lake is surrounded by trees and backed by cliffs, the area surrounding Amethyst lake is severely exposed and nearly at the timber line, so it isn't the most ideal place to camp (even though we, and a few other people, did camp there). We will probably look for a flat, sheltered area between the two lakes on our next visit.

We did not attempt to fish here, but almost every person we saw on the trail was carrying a fishing pole! I did some research following our trip, and it sounds like fishing is much better in Ostler Creek and Ostler Lake than in Amethyst Lake (which has been somewhat overfished and only has small brook trout at this point). Just FYI! I'll update this post should we fish on one of our next visits.

It took us about 4.75 hours to hike to Amethyst Lake with two 15 minute-ish breaks. The hike down ended up being about 3.5 hours, with a very short break when we made it to the bottom of the steep section of the trail.

If you want to give yourself a post-hike present, go here for milkshakes and burgers when you drive through Kamas (they have mint-oreo milkshakes, wheeeee).


THINGS WE LEARNED

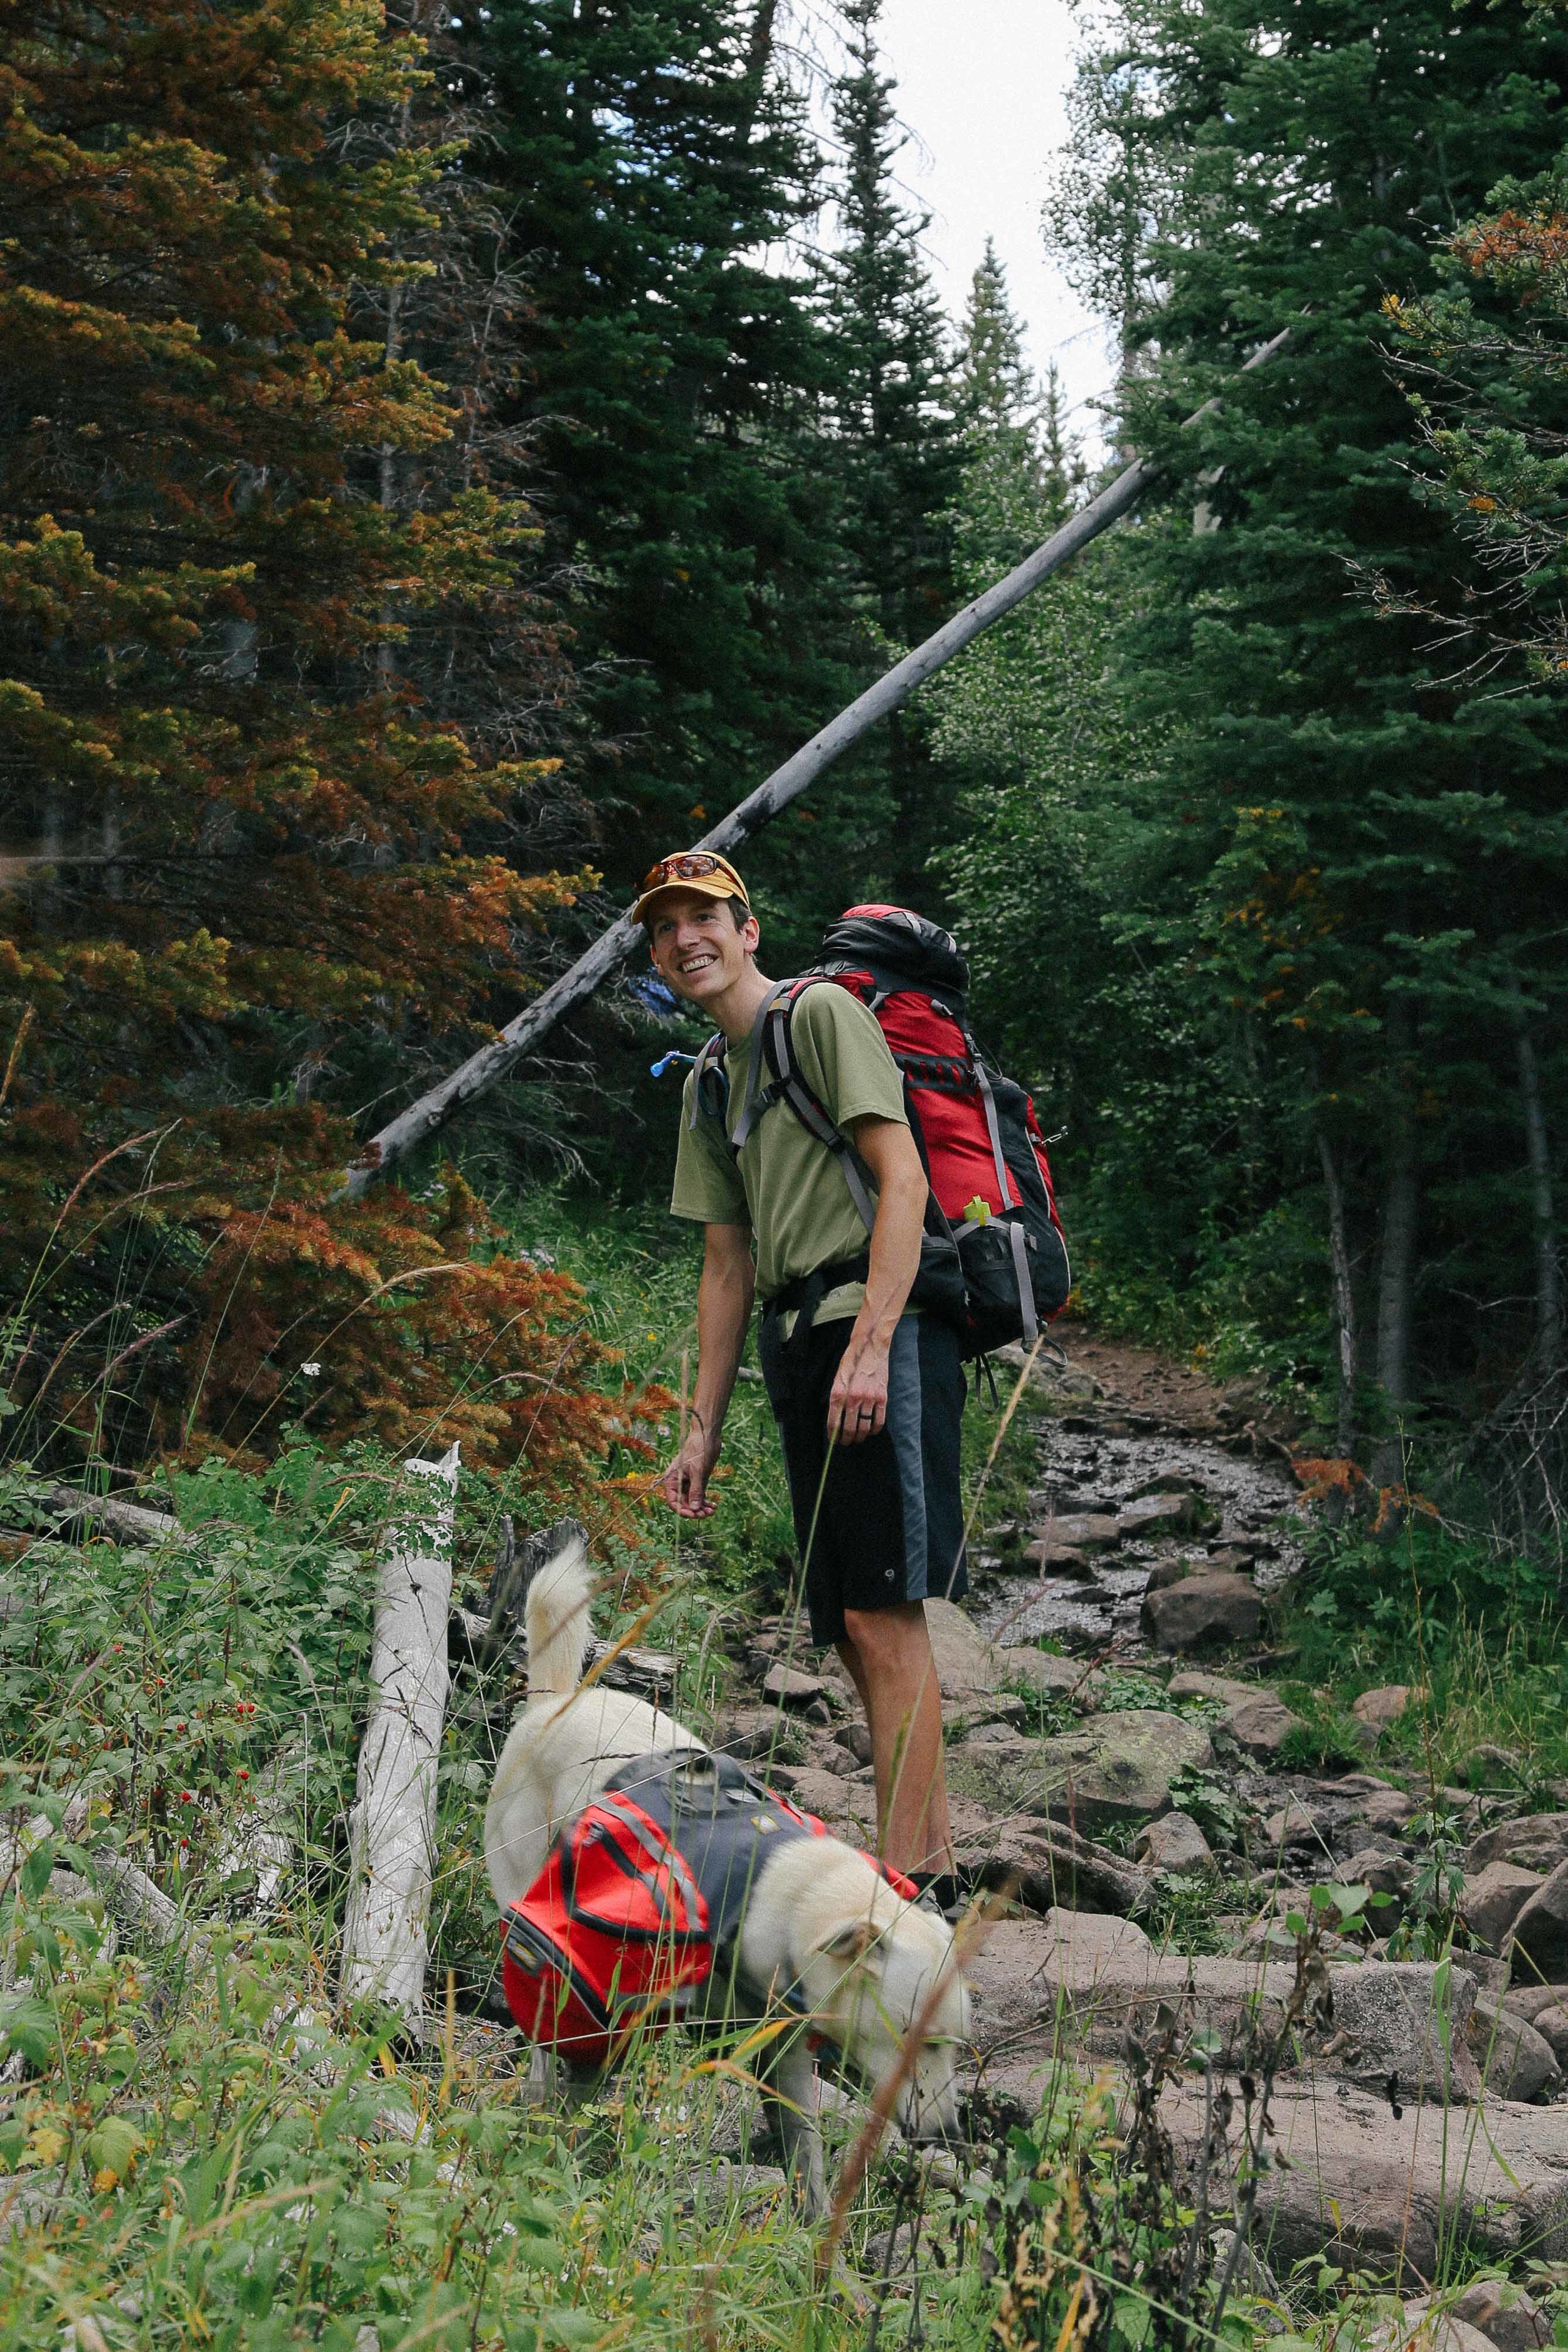
Dogs may or may not roll on the ground while wearing their saddle bags, which may or may not explode any cans of beer you stored there. Most likely, may.

When you are camping in a basin, don't set your tent on the highest spot in the basin if there is a chance there will be a lightening storm, unless you would like to be quietly freaking out in your tent at 3:00am during a lightening storm.

Richard says, also maybe don't set up your tent next to a tree that looks like it was struck by lightening.

Camping in an exposed area with few trees means that whatever spot is relatively enclosed will become EVERYONE'S bathroom. Learn how to pack out your TP, folks (or at the very least, bury it well).

Layers are your best friends in the Uintas! I wanted to strip to my skivvies on the way up the mountain, but the moment we dropped our packs at our campsite, it was long underwear and puffy jackets all the way.

Wool socks are also your best friend (at night)! During the day, they are like the person that pretends to be your best friend but spreads rumors behind your back that you had a nose job, and the whole time you're with them you're thinking "I sort of hate you." Richard says wool socks are always his best friend.

Research the trails beforehand, or go with someone who knows their way; as mentioned, this trail was not marked terribly well in parts, and there were forks at a few locations, so you'll want a solid general idea of where you're going before you start.

There are a lot of sheep in the Uintas!

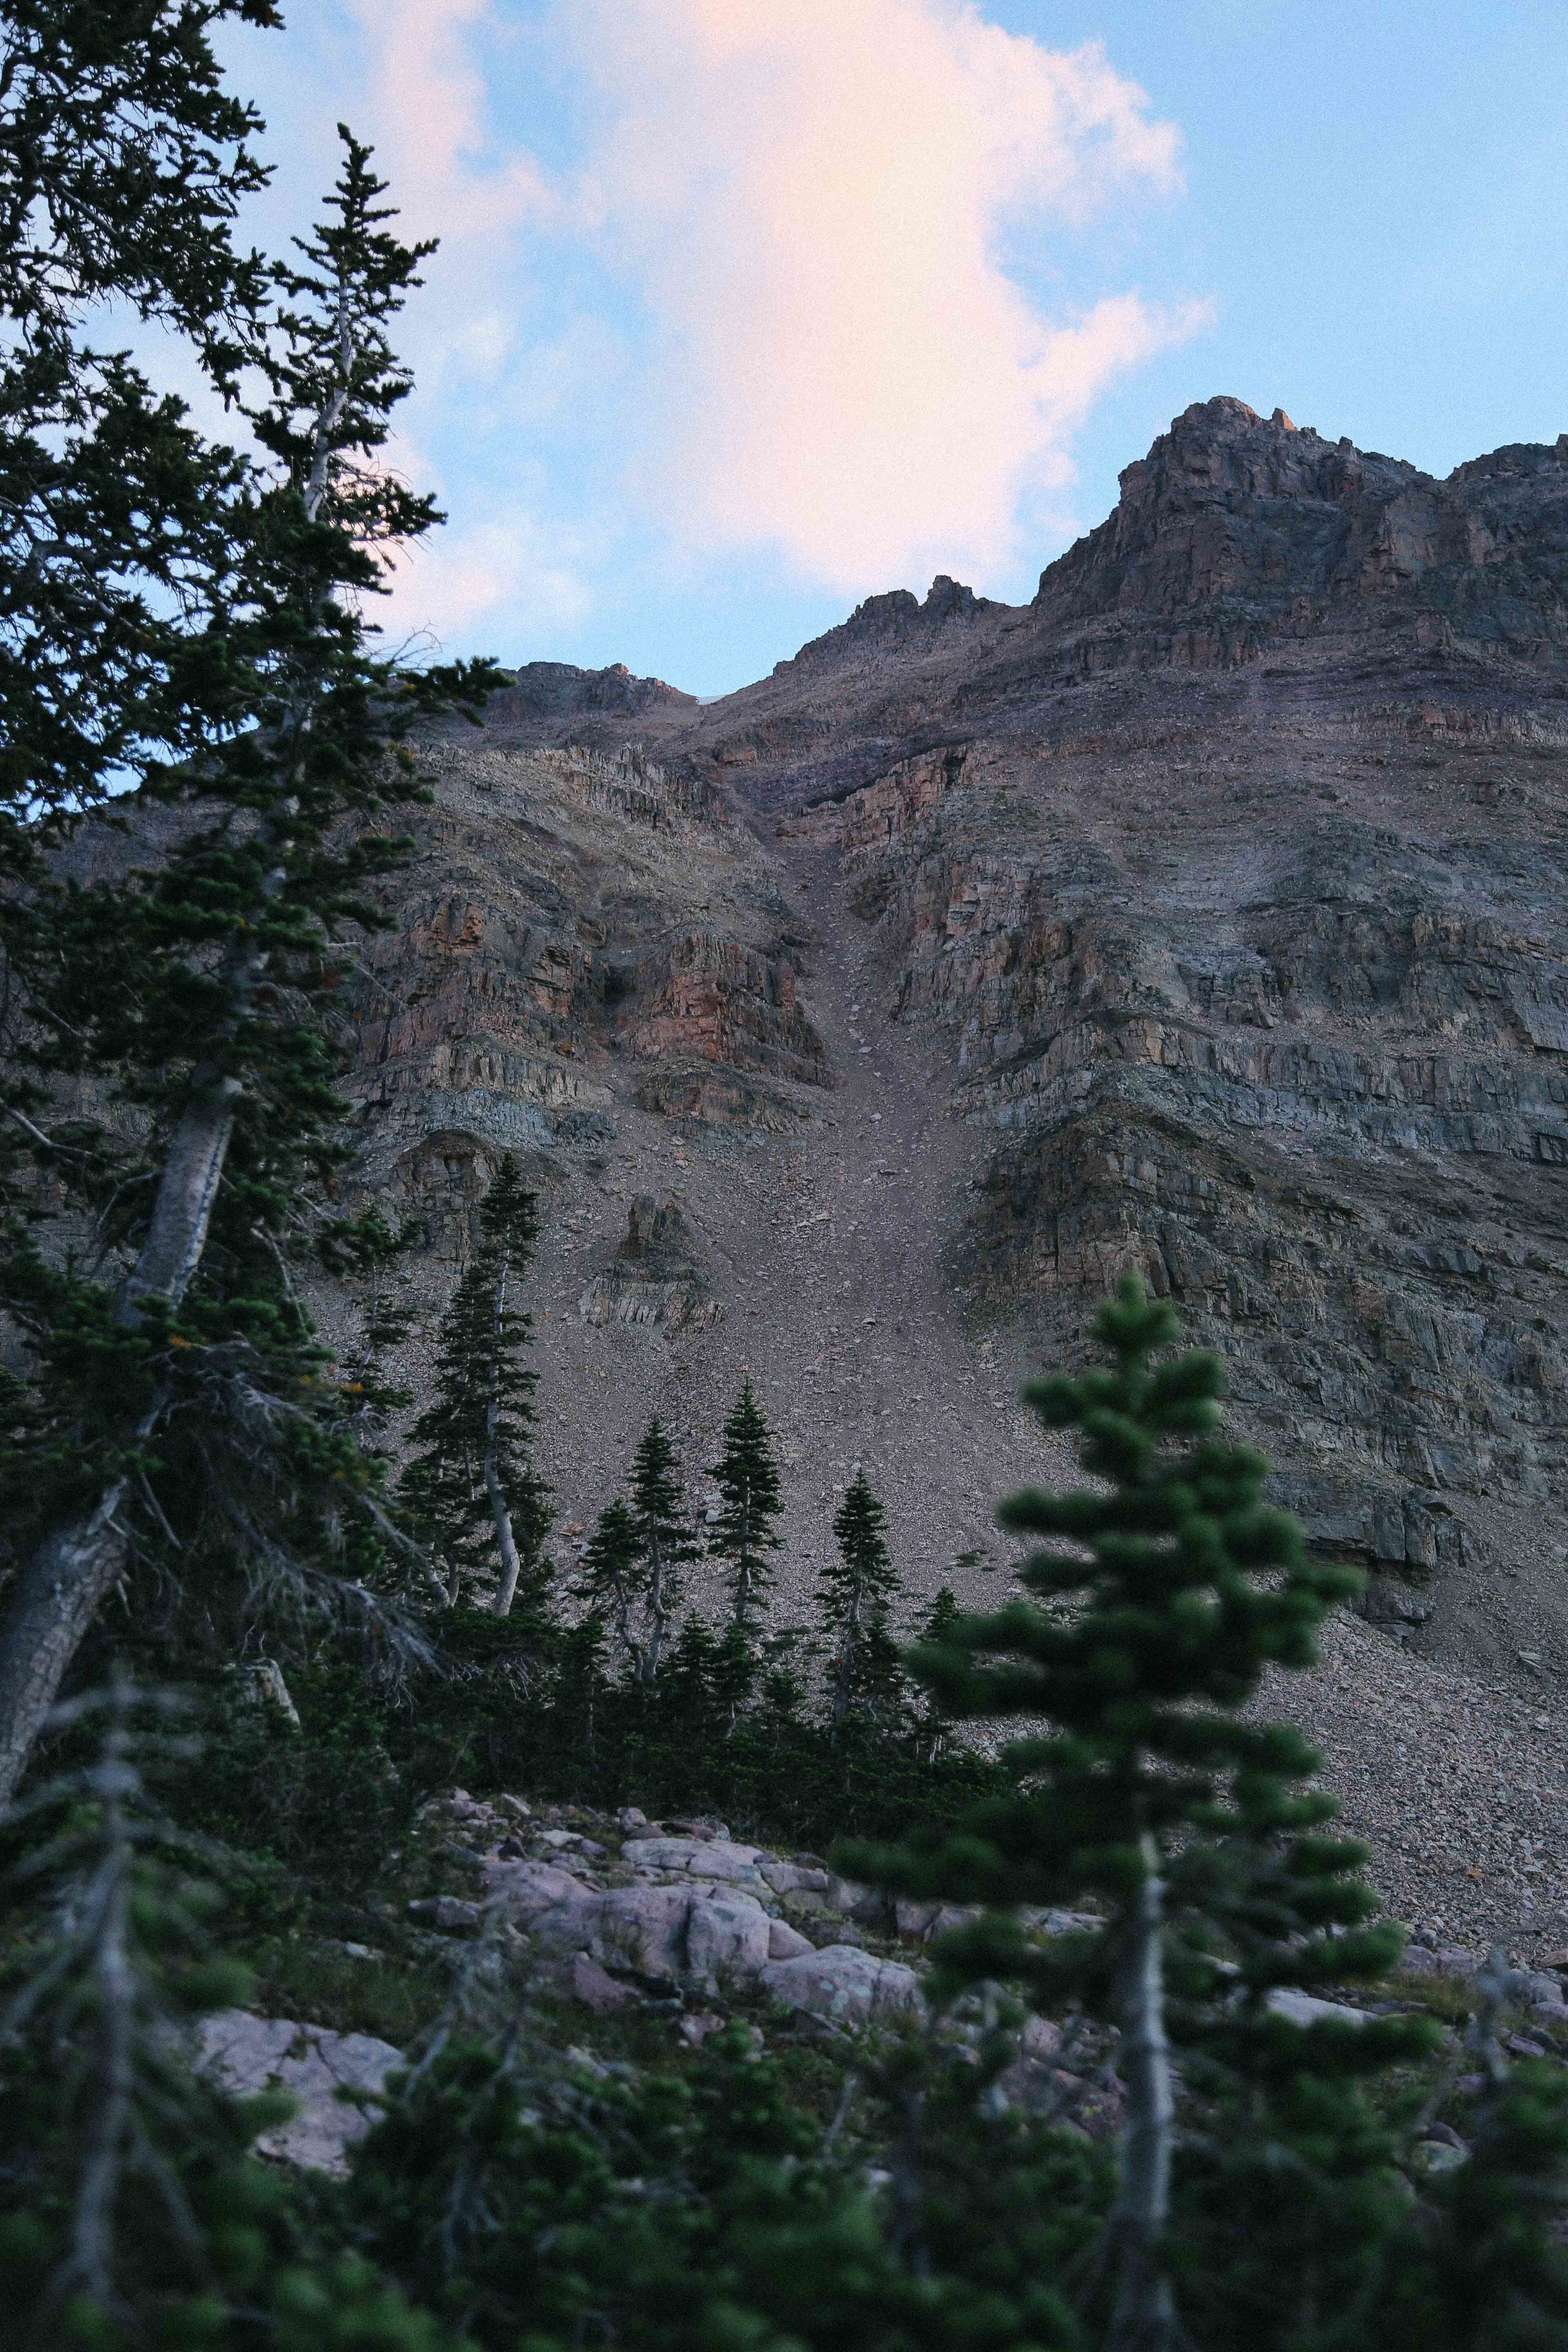
There are goats in the Uintas, and they hang out on the mountains and frequently start tiny (and sometimes bigger than tiny) rockslides. Mind the mountains, and set your tent a good distance away from talus piles (loose rock piles frequently found at the bottom of mountain; these give you an idea of how far rocks have fallen.)

There are bears in the Uintas, but they are less likely to bother you than the squirrels and chipmunks, which will menace the living crap out of you and your dog and, most likely, any unzipped backpack.

Climbing tape will attach your sole back to your boot in a pinch if it detaches from your shoe while you are hiking. IMPORTANT: make sure to bring enough tape for both shoes, because your other sole may or may not detach itself from your other shoe within 15 minutes of the first. Most likely, may.

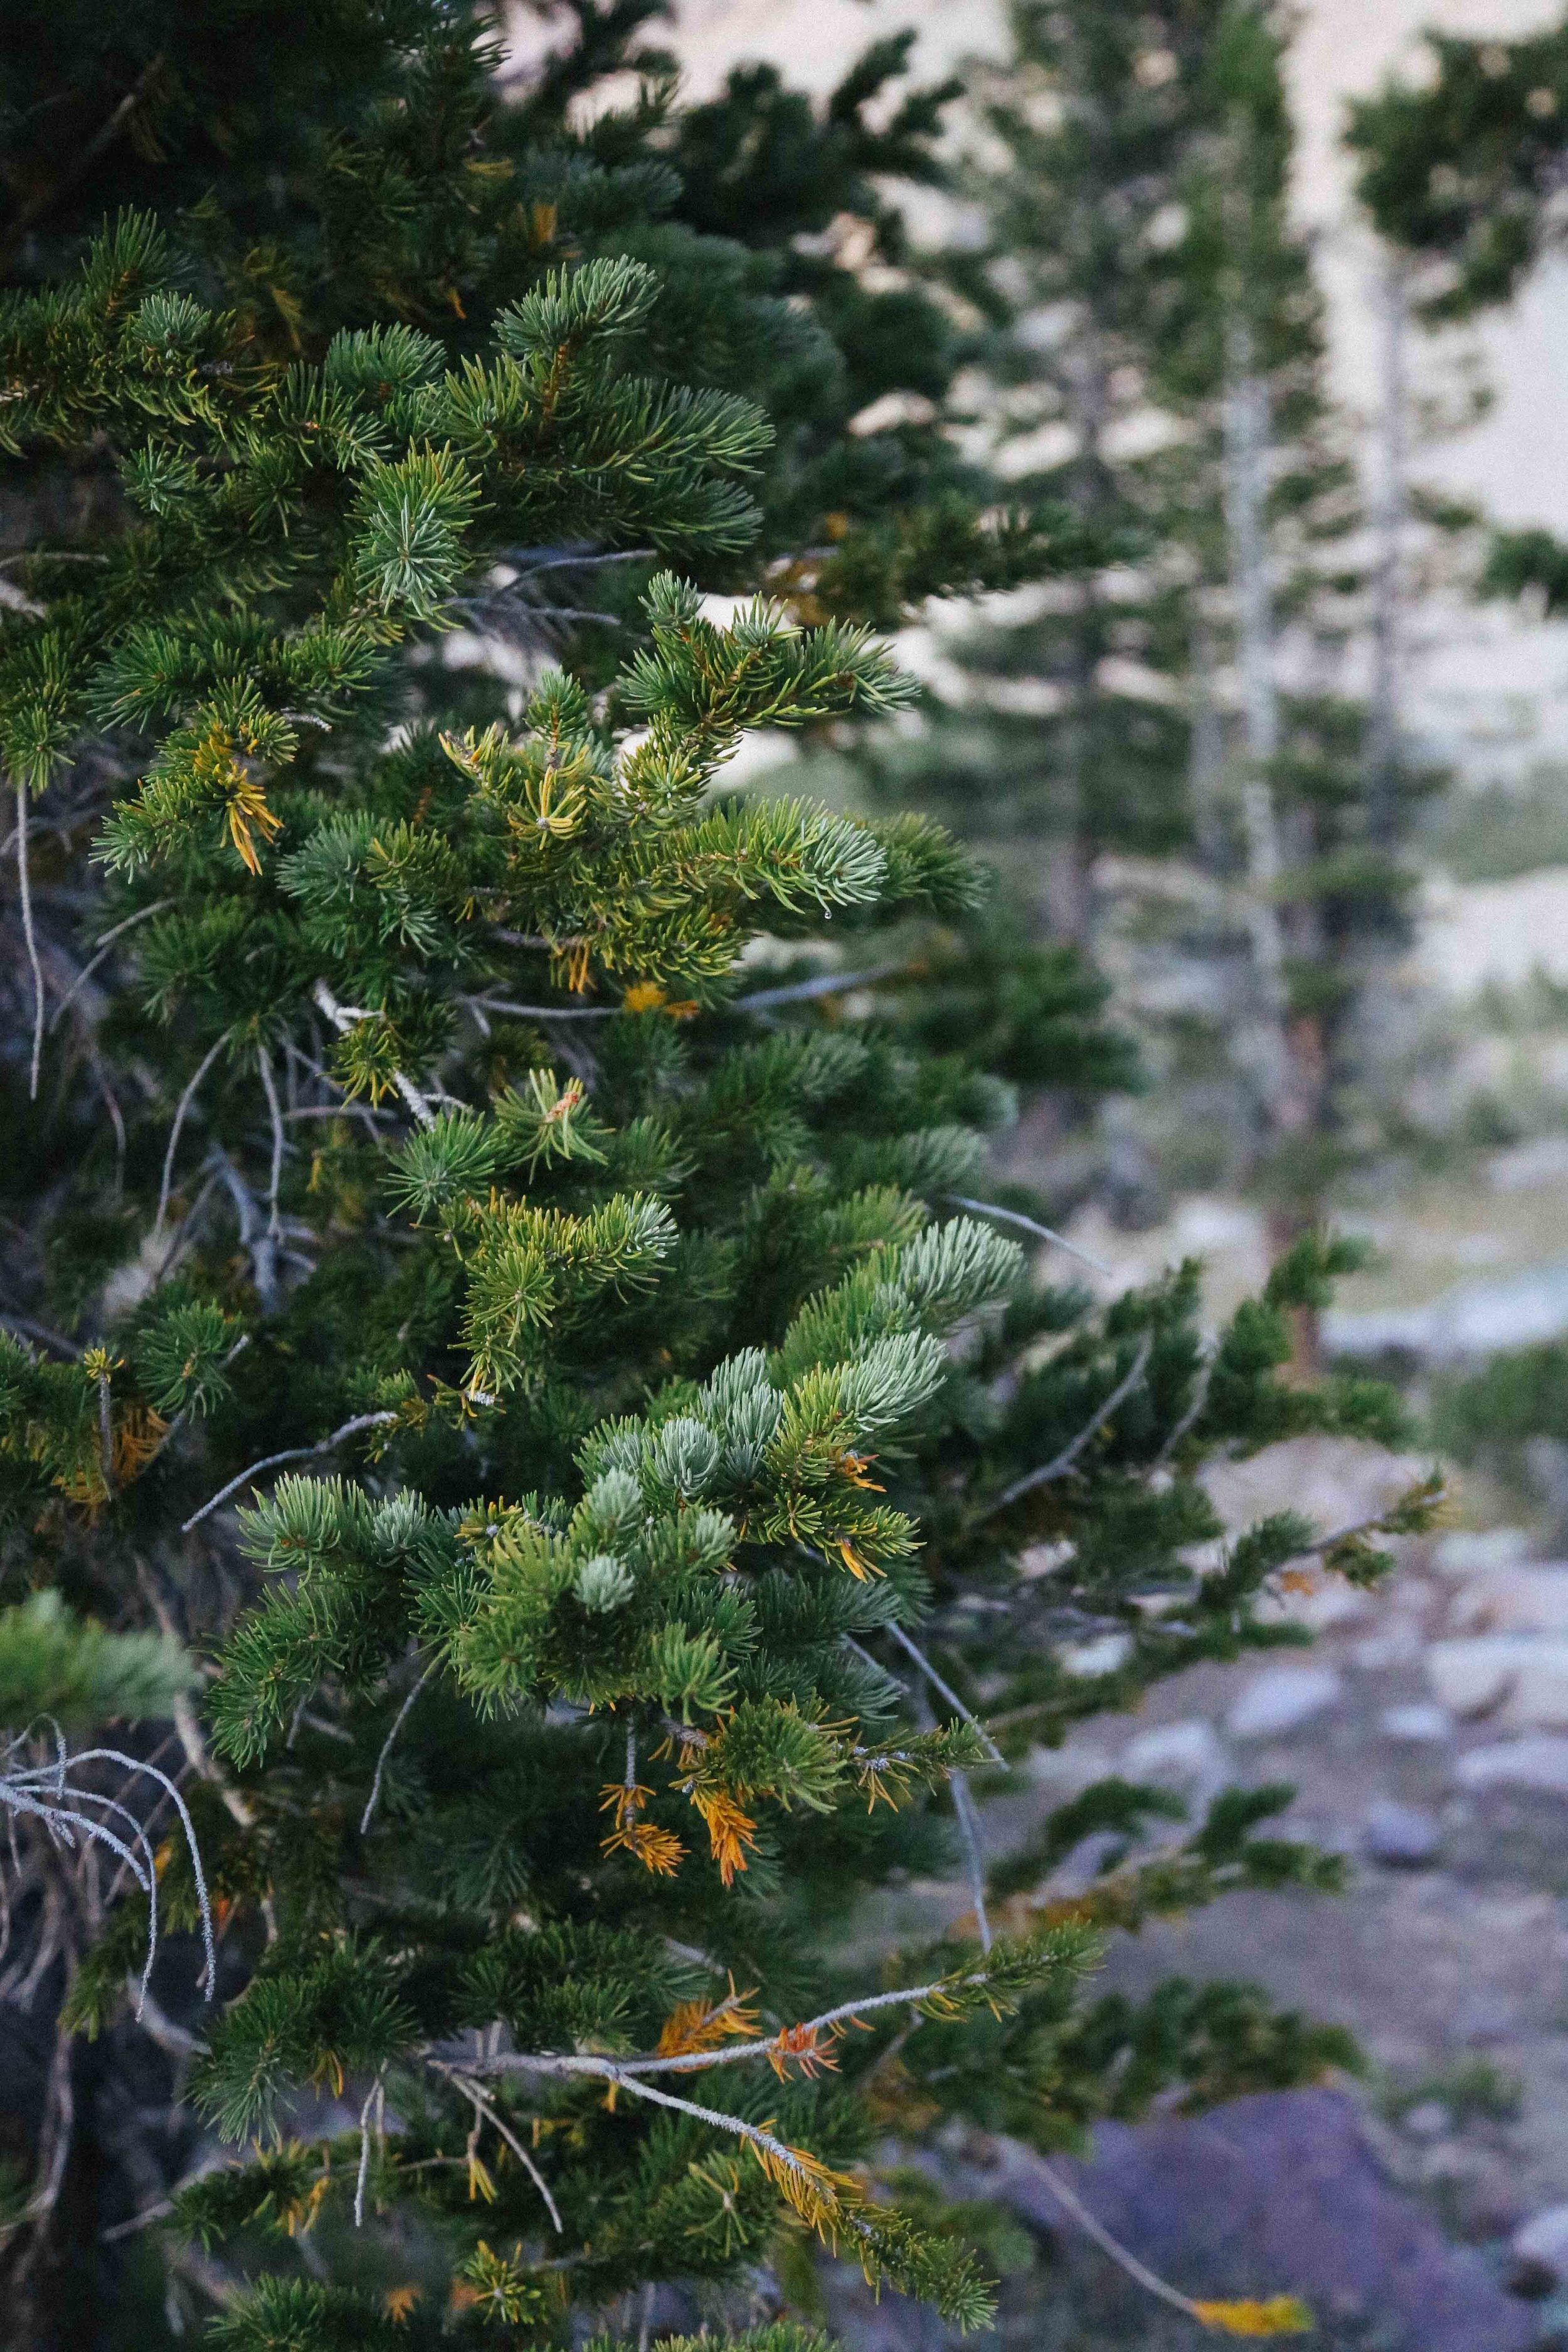
(Note - photos show the trail and basin as it is in late August)

baklava in rose water syrup

Rachel SandersComment

I need to start this post by telling you that I didn't make this baklava. Richard did. Could we please give him a round of applause? It is the most beautiful, delicious baklava I have ever eaten in my life. It very well might be the most delicious baklava on the planet, or at least in Utah (we're not known for our baklava*).

This recipe is from a cookbook that I bought before I knew very much about cooking, and it kind of fell off of my radar over the years. So when we pulled it out to look through it, I kept thinking "Dumb! I am so dumb!" because every recipe looks tasty and straightforward and flavorful and interesting and pretty much encompasses everything that I want to be eating on a regular basis. Even the baklava is straightforward, in spite of its many steps and time consumption.

Richard made it for me (!!!) as part of our anniversary meal tradition, where one of us makes dinner and the other makes dessert. It is made with walnuts and pistachios and a heart-stopping amount of butter and love. Really, it is made with love, because love is the only thing that will compel you to take the skins off of walnuts and pistachios (the skins are supposed to be the difference between a good baklava and a great one), which Richard happily did for an hour and a half. We joke that there is never a winner in terms of who makes the best food or who puts the most effort into a dish, but for the record, Richard is the winner. Hands down.

(However, I am an even bigger winner, since I get to eat the baklava.)

I don't know where this falls in the realm of Greek v. Syrian v. Turkish baklava, nor do I know whether it is traditional to have multiple phyllo layers or just a thick bottom layer and top crust encasing the nuts. What I do know is that I am eating a piece while I type this and I feel like the luckiest girl in the world.

BAKLAVA IN ROSE WATER SYRUP
adapted from Aromas of Aleppo, by Poopa Dweck - makes 30 baklava

When you're working with phyllo (or filo) dough, you want to make sure that you've defrosted it completely (so that it doesn't tear) and that it doesn't dry out (again, so it doesn't tear). We unfold the phyllo dough onto a dishcloth, and then cover it with another dishcloth that is slightly damp. We uncover the dough to get a sheet of phyllo dough, and then recover it while we are working with that sheet (so the rest don't dry out). Any torn sheets can go on your bottom layer (or in middle layers, should you choose to have them), just make sure to save at least one or two pretty sheets for the very top of the baklava!


1 pound walnuts, shelled, blanched, peeled, and finely chopped
1/2 pound pistachios, shelled, blanched, peeled, and finely chopped
2 tablespoons confectioners' (powdered) sugar
1 1/4 pounds (5 sticks) unsalted butter, melted
1 pound of phyllo/filo/filla dough, defrosted if previously frozen
1 cup cold shira (fragrant Aleppian dessert syrup, recipe follows).


Combine the walnuts, pistachios, sugar, and 1/4 cup of the melted butter in a medium mixing bowl.

Lightly brush the bottom of a 9x13x1-inch baking pan with a little of the melted butter.

Working with half of the phyllo dough and slightly less than half of the melted butter, brush each dough sheet, one at a time, with butter. Stack them evenly on top of each other in the baking pan, folding the sides in if necessary to create a straight edge along the inside of the pan.

Preheat the oven to 350˚F.

Spread the nut mixture over the buttered phyllo dough. Butter the remaining sheets of phyllo dough, one at a time, and stack them over the nut layer. Brush the top sheet with a generous amount of butter and refrigerate, covered, for 20 minutes. Cut the pastry into diamond, square, or rectangular pieces.

Bake for 1 hour, or until the baklava is puffy and golden and smells ridiculously good.

After removing the baklava from the oven, pour the cold shira over it and let it cool completely. Store, covered, at room temperature, for up to three days, or refrigerated for up to a week.

FRAGRANT ALEPPIAN DESSERT SYRUP
makes 2 cups


3 cups sugar
1 teaspoon freshly squeezed lemon juice
1/2 teaspoon rose water or orange blossom water


Combine the sugar and one cup water in a medium saucepan over medium heat. Stir constantly with a wooden spoon until the mixture comes to a boil. Reduce the heat to low and simmer for 15 minutes to reduce the syrup. It should coat the back of a spoon.

Remove the syrup from the heat, add the lemon juice and rose water, and let coo. Use immediately, or pour into a glass jar and refrigerate. The syrup will keep, refrigerated, for up to 2 months.

*Baklava is a dessert with roots in Turkey, Greece, and Syria, all countries which are currently in varying states of economic, social, or political crisis. I would feel very strange enjoying a dessert from these countries without acknowledging their current situations. I have definitely been guilty of thinking "how unfortunate that that is happening over there" before continuing about my day and getting wrapped up in my own crap, but this story nicely illustrates both how connected we are with people all over the planet, and how very small acts we perform today can drastically alter the future of others (and possibly our own futures as well)**. The IRC and a number of small non-profits are working extremely hard to assist refugees with everything from temporary housing, to medical assistance, to saving those who are lost at sea. Small donations make a difference! I'm donating to Hand in Hand for Syria, which is providing direct relief aid to displaced Syrians who have fled their homes, but remain in their country.

**If you can't donate money, maybe give someone who is feeling down a hug today? Or share a meal with someone? Let's be kind and compassionate people. Life kicks us in the pants enough already.

peach-raspberry breakfast muffins

Rachel SandersComment

Just after I made these muffins, I lost the little notebook in which the recipe was written and I only rediscovered it this morning. So I know we're really down to the wire for peach season, but I wanted to get these muffins to you all the same. If you can't find fresh peaches, you could use frozen fruit or maybe have something to look forward to for next year? Do you want to punch me right now? I would want to punch me.

Regardless of the fruit you use, these are great little muffins to make any time for breakfast or snacking purposes. These are not Costco-style, meaning they are not dense and practically dessert. They are quite light and borderline delicate from the moisture in the fruit, with a bit of texture from the hot cereal. And the candied ginger on the top is just fantastic; it made me wish that I had mixed some throughout the batter, so there are some notes in the ingredients list should you wish to do so as well (dooooiiiiiit).

Peach-Raspberry Breakfast Muffins
Adapted from the Cheeseboard Collective Works recipe for Apple-Apricot muffins - Makes 12 muffins

The tops of these muffins end up being relatively flat, I think because they are quite fruit-laden and the batter is a little wet. Just so you know! The original recipe from the cheese board calls for 1 cup of chopped dried fruit, so you can always sub that for a slightly denser, rounded muffin.

If you're not a fan of the flavors of orange-blossom water and cardamom, you can substitute vanilla and cinnamon.


2 eggs
1 1/2 cups buttermilk
1/3 cup melted and cooled butter
1 teaspoon orange blossom water
1 1/4 cups unbleached all-purpose flour
1 teaspoon baking soda
1/2 teaspoon ground cardamom
1/2 teaspoon kosher salt
3/4 cup old-fashioned rolled oats
1/2 cup uncooked hot cereal of your choice (I used this) OR raw wheat germ
1/4 cup granulated sugar
1/2 cup packed light brown sugar
1/2 cup chopped candied ginger, divided
2 peaches, cut into 3/4-inch pieces
A handful of fresh raspberries (about 1/2 cup)


Preheat the oven to 350˚F. Generously butter or spray the top and cups of a 12-cup muffin pan.

In a medium bowl, combine the eggs, buttermilk, butter, and orange blossom water, and whisk until well blended.

Sift the flour, baking soda, and cardamom together into a large bowl. Add the salt, oats, hot cereal or wheat germ, sugars, and 1/4 cup of chopped candied ginger. Stir with a wooden spoon to combine. Make a well in the center of the dry ingredients and pour in the wet ingredients. With a few strokes of the spoon, gently combine, taking care not to overmix the batter.

Switch to a spatula, and carefully fold in the peaches. Once the peaches are relatively well distributed, gently fold in the raspberries in a few strokes, taking care not to break them up too much in the batter (which will make your batter pink and streaky, though the muffins will still taste great). Let the batter rest for 15 minutes to allow the ingredients to hydrate and expand fully.

With a dry measuring cup or a large spoon, evenly distribute the batter among the twelve muffin cups, and sprinkle with the remaining 1/4 cup chopped candied ginger. Bake on the middle rack in the oven for 30-35 minutes, or until the muffins are a deep golden-brown, firm, and springy when touched. Let cool in the pan for 10 minutes, before turning out onto a cooling rack.

These muffins keep well in an airtight container for up to 1 day at room temperature, or up to 3 days in the fridge.


tomato and avocado salad with sweet corn and herb vinaigrette

dinner, lunch, salads, summer, vegetarianRachel Sanders2 Comments

I would wager a guess that 95% of you are really excited about this tomato and avocado salad, while 5% of you were immediately distracted by the denim tuxedo lurking behind that bowl of tomatoes. Lest ye judge me too harshly, note that it was laundry day. However, after wearing this outfit for a full afternoon, I can confidently say that this is a pretty rad shirt-pants combo. It is comfy, weather-appropriate for fall, and denim hides dirt well enough that you can't even tell that I was jumped by a chicken shortly before I took these photos.

But is this a fashion blog? Clearly not! Back to salad.

Richard and I went to the farmers' market this past weekend for the first time in two months, which is quite infrequent and very unlike us in general, but very like us when we are in camping mode. And the most gorgeous tomatoes are in season right now, all shapes, sizes, hues, varieties. Just color coming out of your ying yang. And we haven't been buying any for WEEKS, so we seriously need to make up for lost time.

This is a nifty little salad to keep in your back pocket for summer. You chop up some stuff, pile it on a plate, and drizzle a bit of vinaigrette over the whole thing. The point, I think, is to highlight all of those beautiful summer veggies when they are at their very best and most flavorful, so there's no drowning of anything in dressing. You could add other things if you like... grilled summer squash, lentils, fresh cheese, you name it. As is, this salad can double as a great topping (or relish, if chopped more finely) for grilled meat, or a nice brunch side for polenta or potatoes and eggs.

Ooo, just thinking about that is making me excited to go to bed already so I can wake up and make breakfast. BYE.

tomato and avocado salad with sweet corn and herb vinaigrette
serves 2 as a light main, or up to 4 as a side salad

1 small fresh shallot
1 tablespoon white balsamic vinegar, white wine vinegar, or lemon juice
kosher salt
black pepper
2 pounds assorted heirloom and cherry tomatoes
1 ear sweet corn
1 just-ripe (not mushy) avocado
1 teaspoon dijon or whole grain mustard (optional - omit if using cilantro (see next ingredient))
1 tablespoon mixed chopped herbs, such as parsley, basil, cilantro, or chives
1-2 tablespoons olive oil
flaky salt, such as Maldon, to finish (optional, but delicious)

Thinly slice the shallot and place it in a small bowl with the white balsamic vinegar, a pinch of kosher salt, and a grind or two of black pepper. Set aside.

Slice the heirloom tomatoes into thick slices or wedges. Slice the cherry tomatoes in half. Cut the avocado in half, remove the pit, quarter each half, and cut each quarter into 4 wedges or slices (wedges are easiest to cut if you remove the avocado skin first). Husk the sweet corn and slice the kernels away from the cob.

Alternate piling tomatoes and avocado slices on a serving plate, and scatter with the sweet corn. Pick the shallot slices out of the vinegar (reserving the vinegar), and scatter the shallot over the tomatoes, avocado, and corn.

Add the mustard (if using) and finely chopped herbs to the vinegar mixture and whisk to combine. Whisk in the olive oil until the vinaigrette emulsifies and thickens slightly. Taste the vinaigrette, adjust seasoning if needed, and spoon about half of it over the salad. Finish with a light sprinkle of flaky salt, and serve with the remaining vinaigrette and more flaky salt on the side.